My wife and I like to camp in areas that usually do not have hookups, so Solar was a requirement on this RV. After a lot of research on Solar setups, we settled on a system from AmSolar and I'm glad we did. While their kits may not be the cheapest, they are of very high quality and the instructions provided as well as there amazing customer service and
available information on their website made me confident I could install this.
My Solar install consisted of
- AmSolar 100W Complete Charger (Deluxe) Kit
- 2 additional SF 100 Panels (will be adding a 4th at a later date)
- Nature Power 2000 Watt Inverter with remote switch
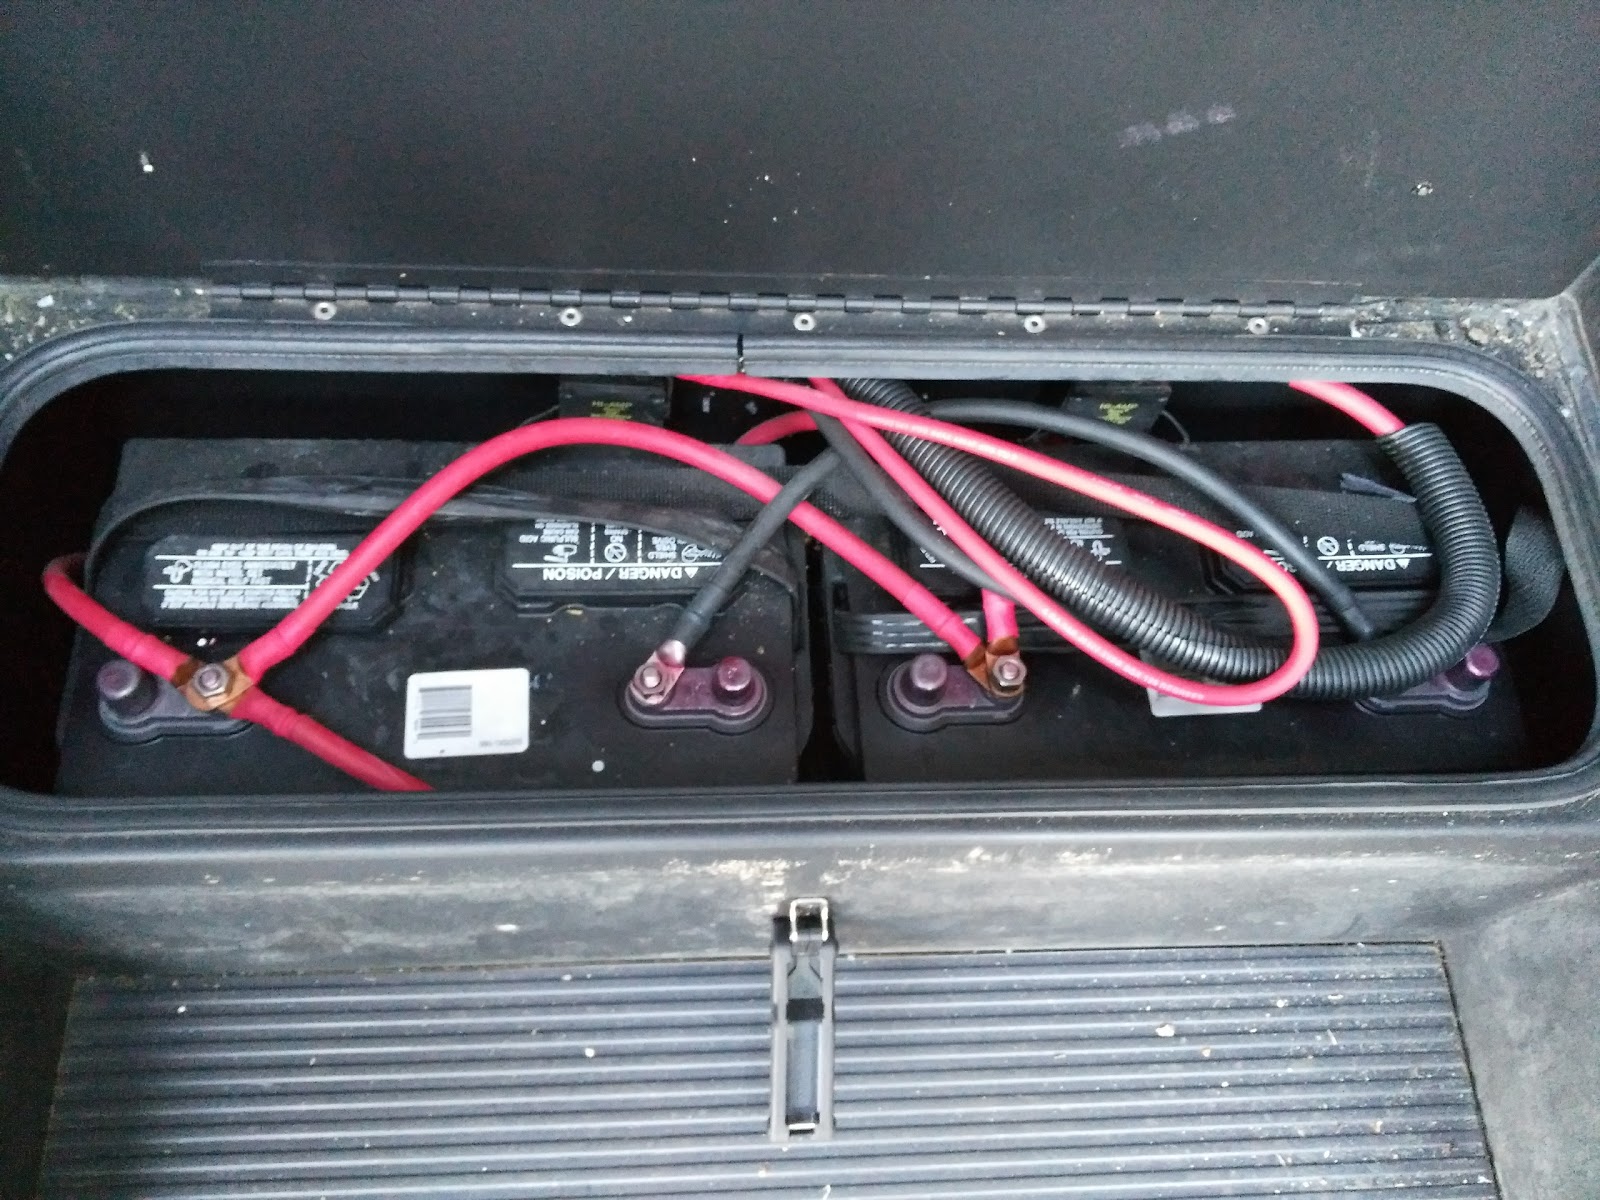
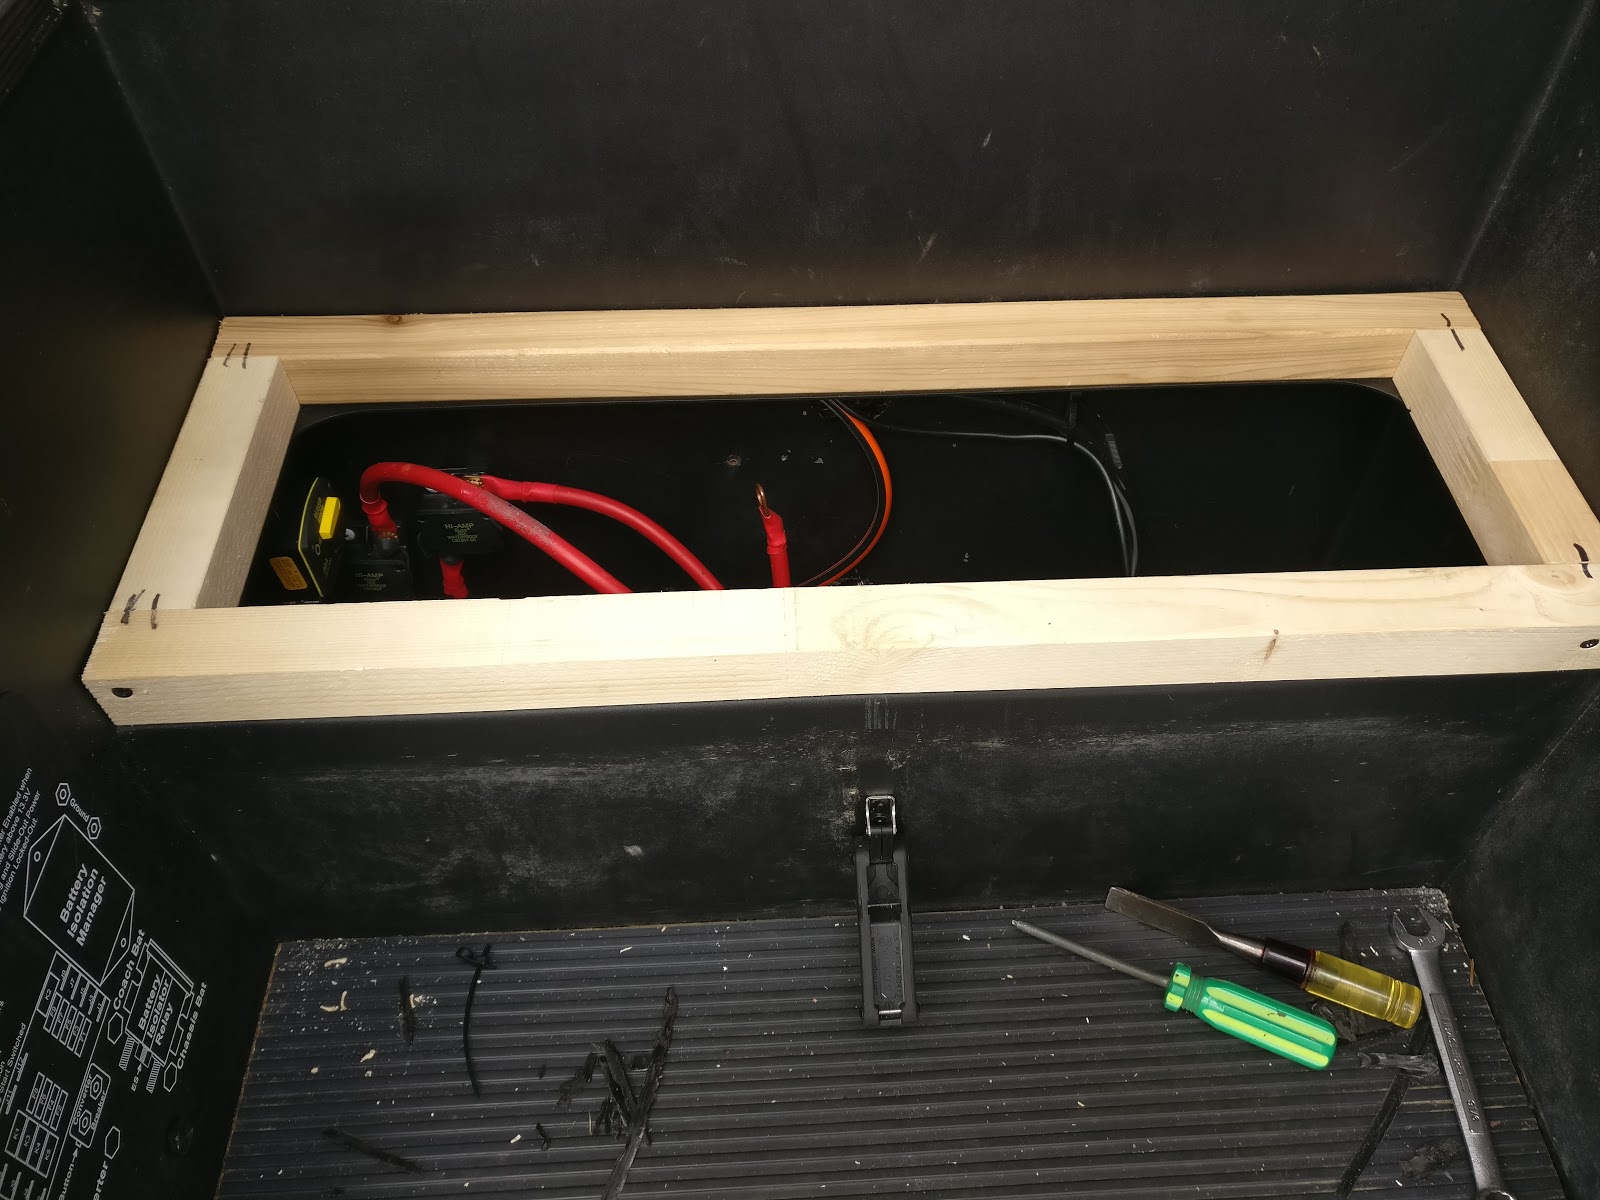
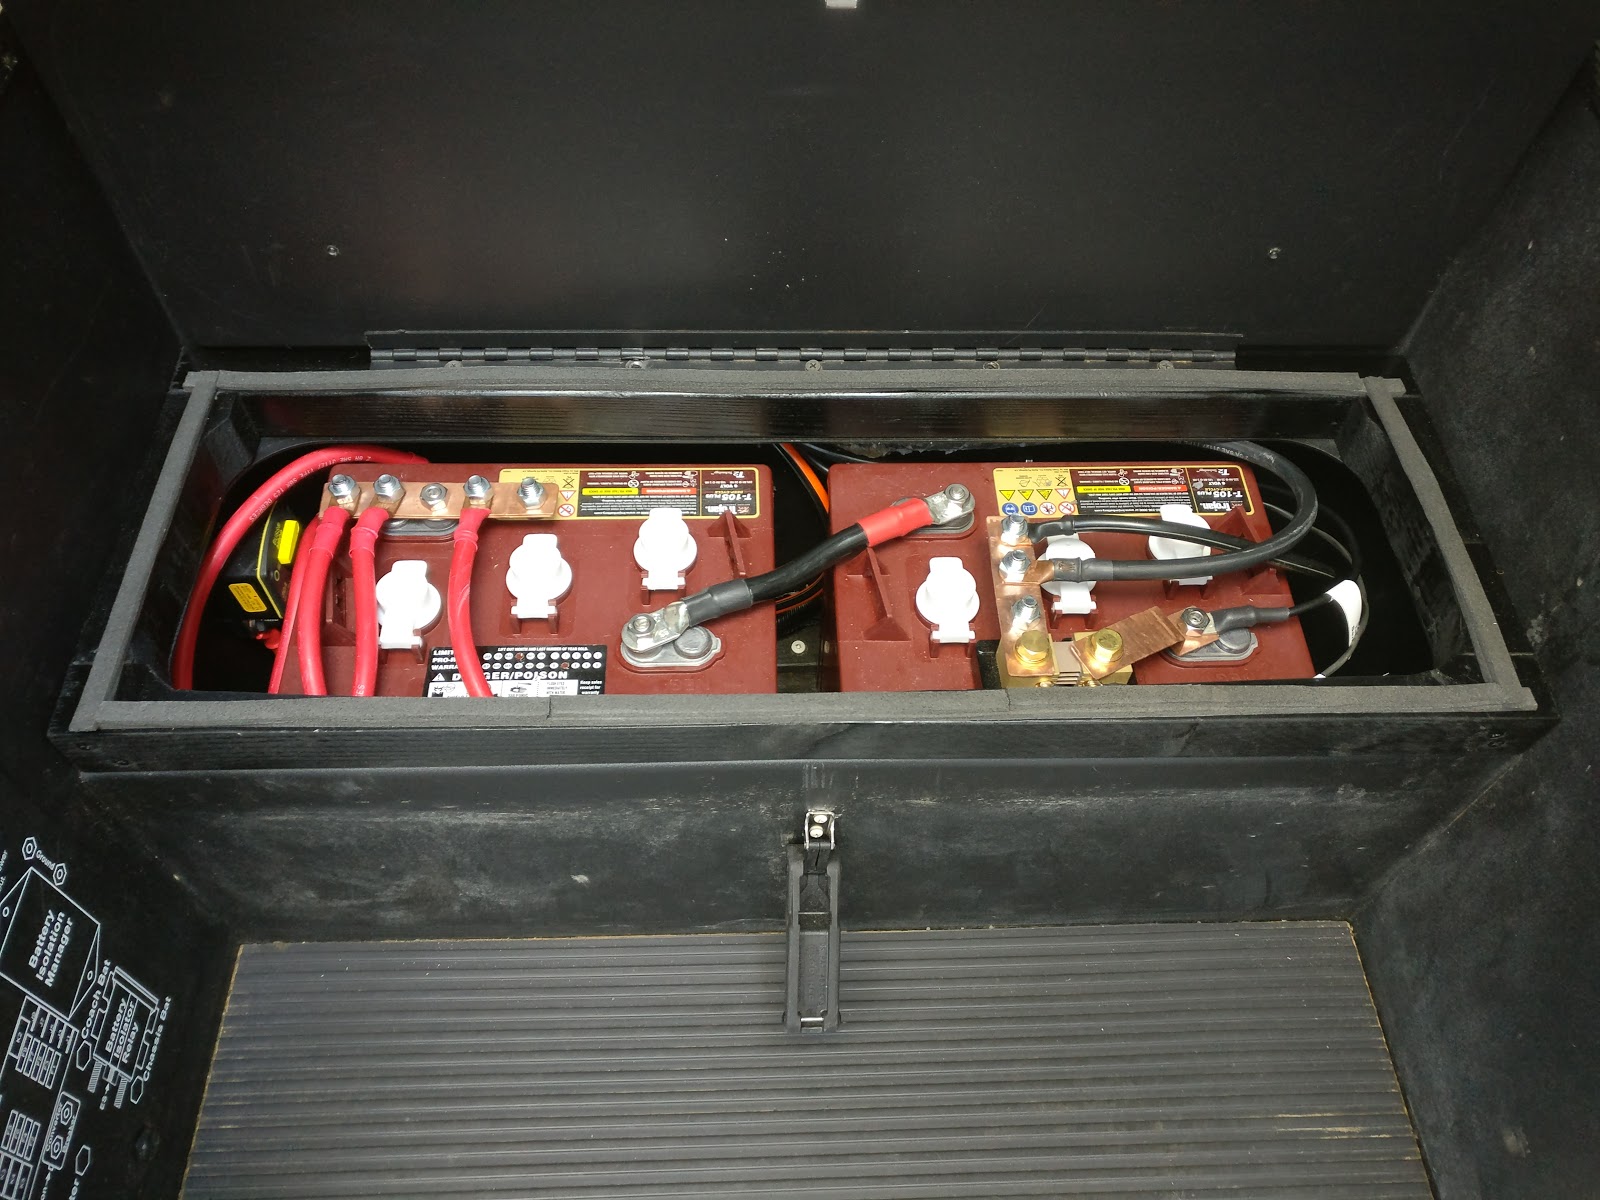
- 2 Trojan T105 225Ah batteries (will have to modify the battery box to accommodate extra height)
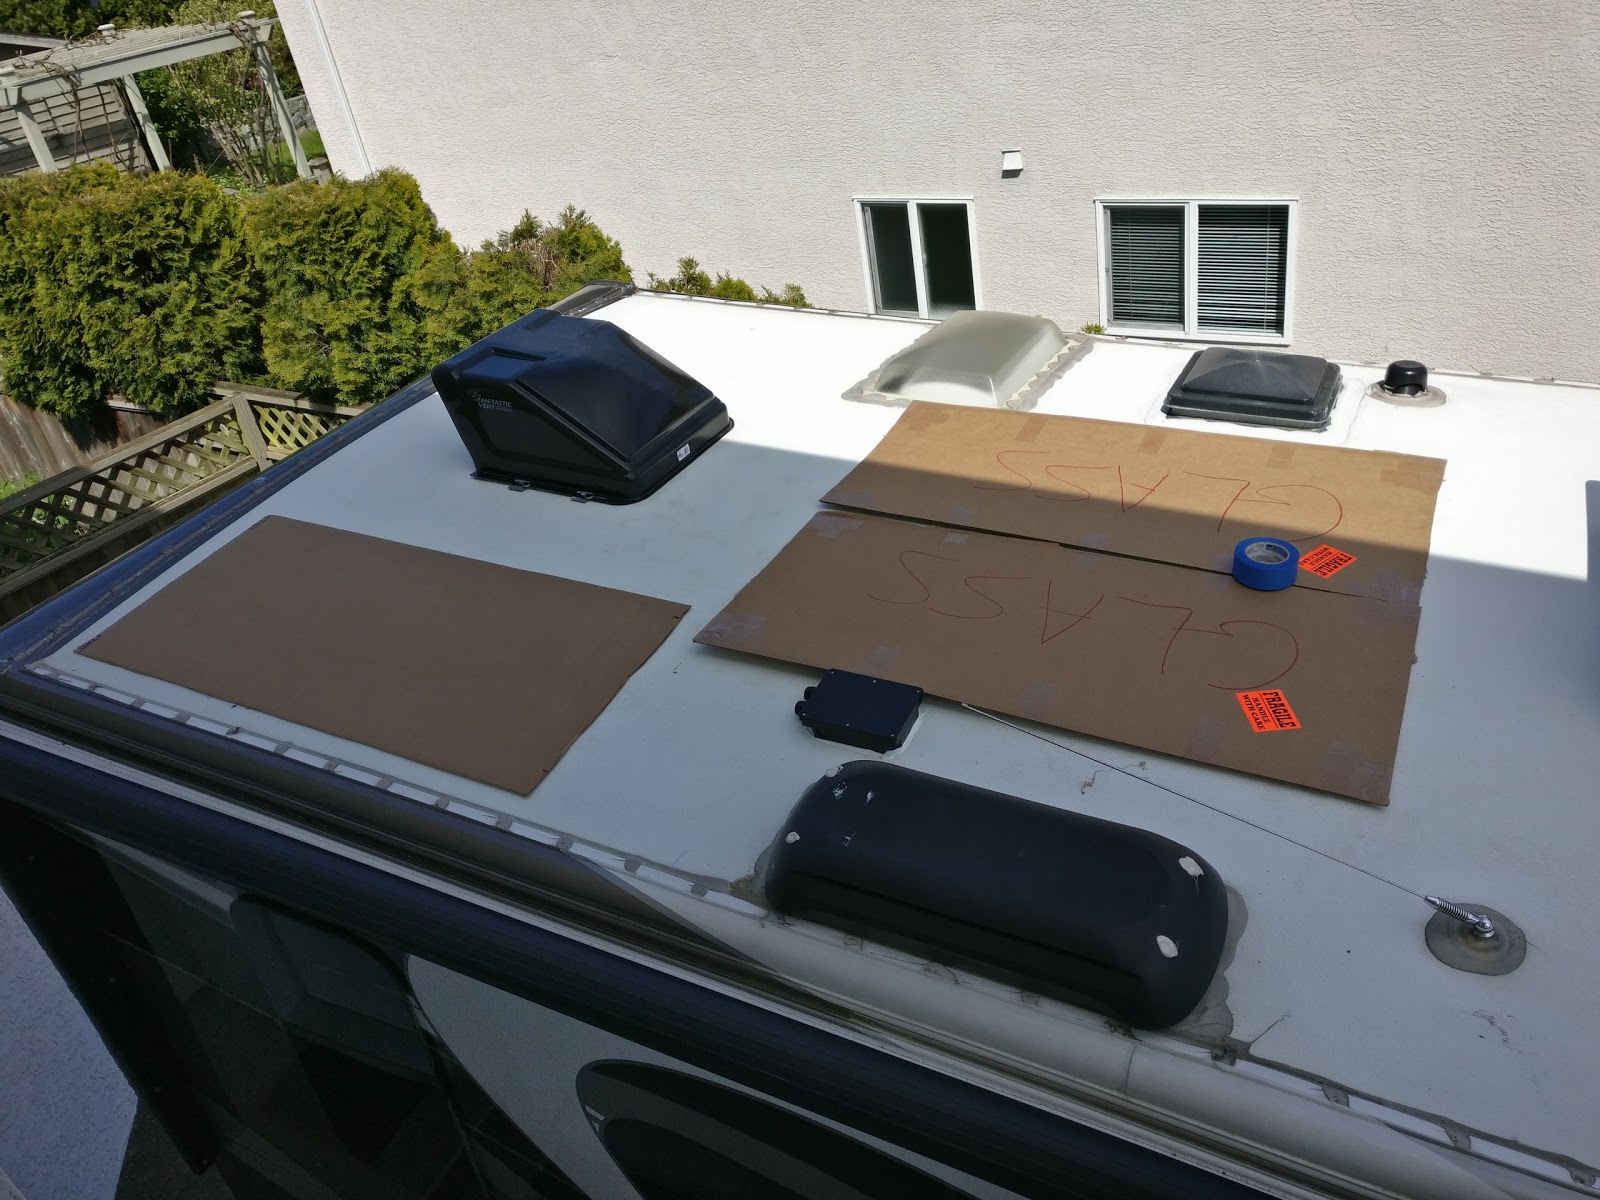
1. The first thing did is figure out were to place all the components, and how I was going to run all the wiring before mounting anything. This is the layout I chose for the solar panels with the remaining panel I plan on adding going in the empty space at the top.
Combiner Location
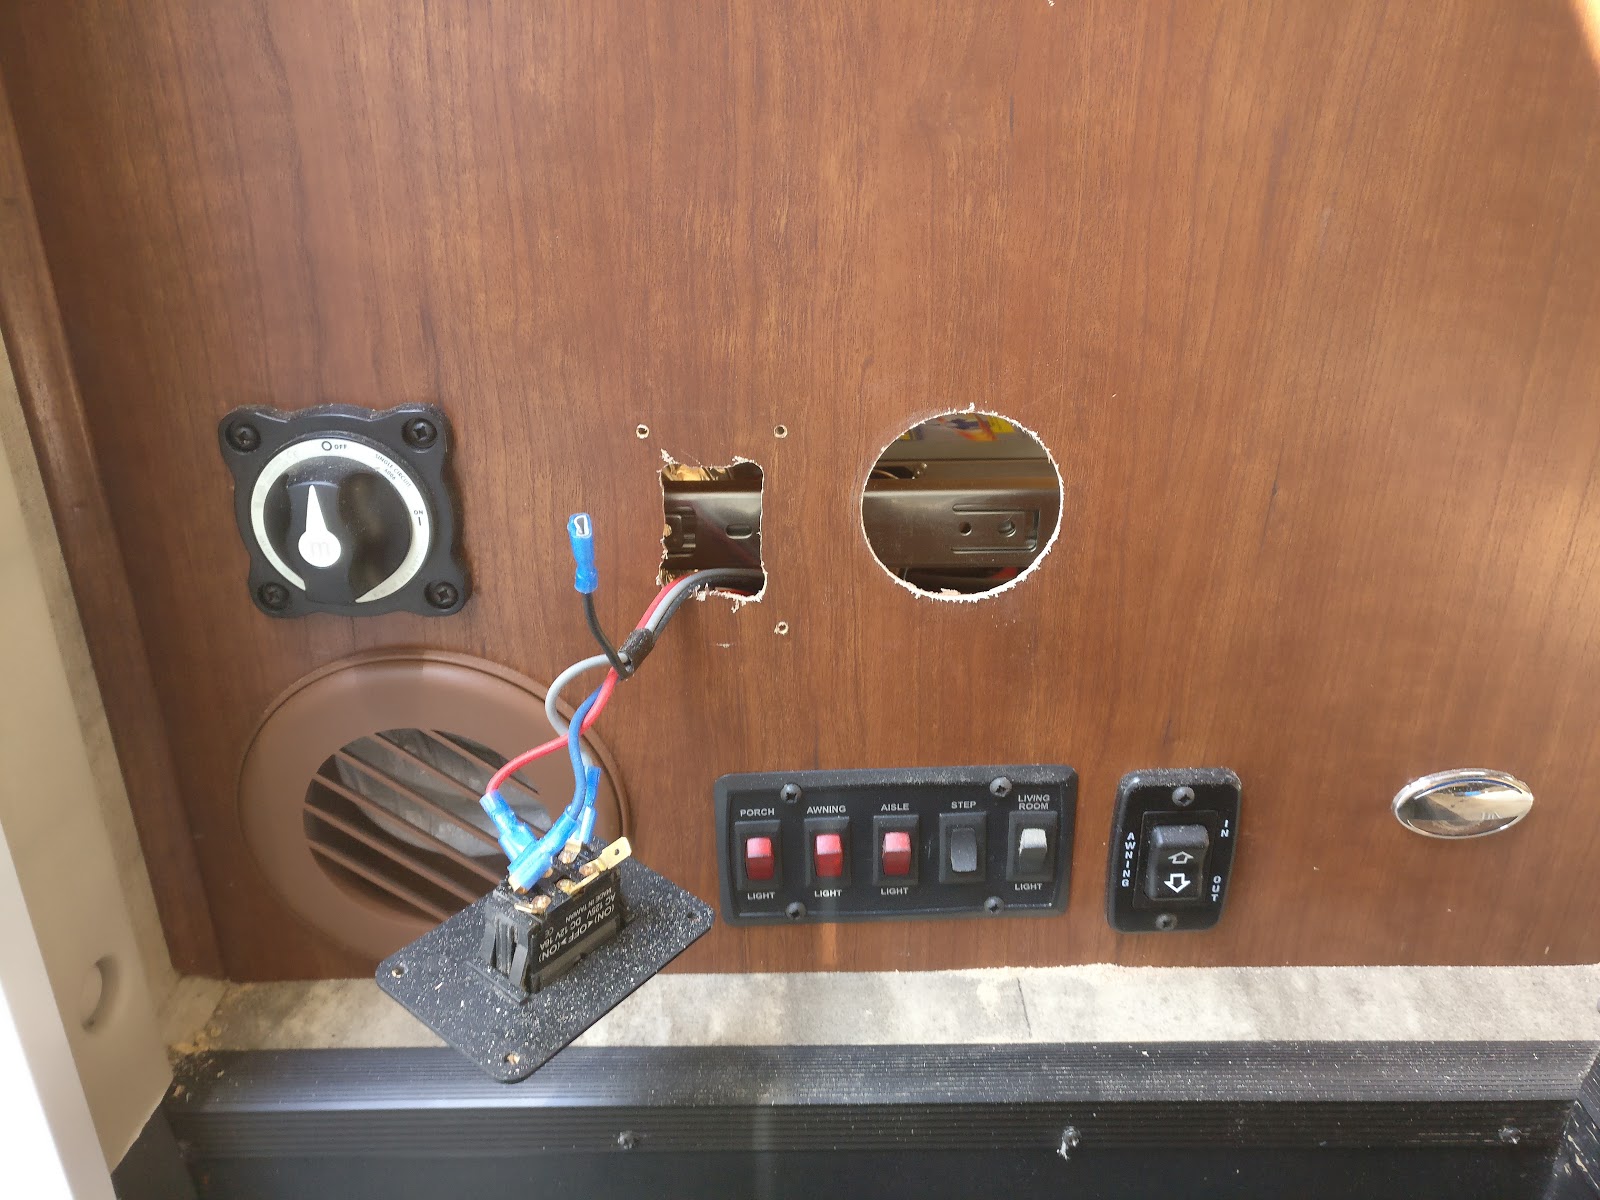
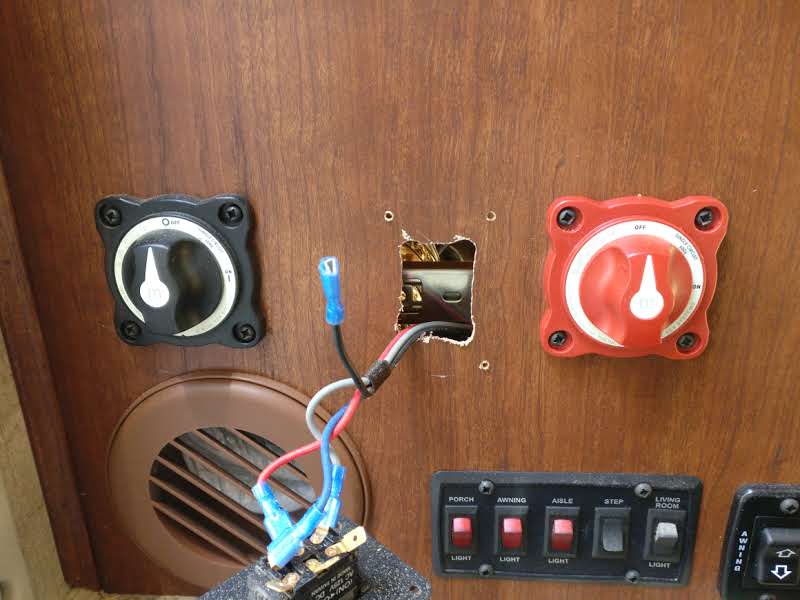
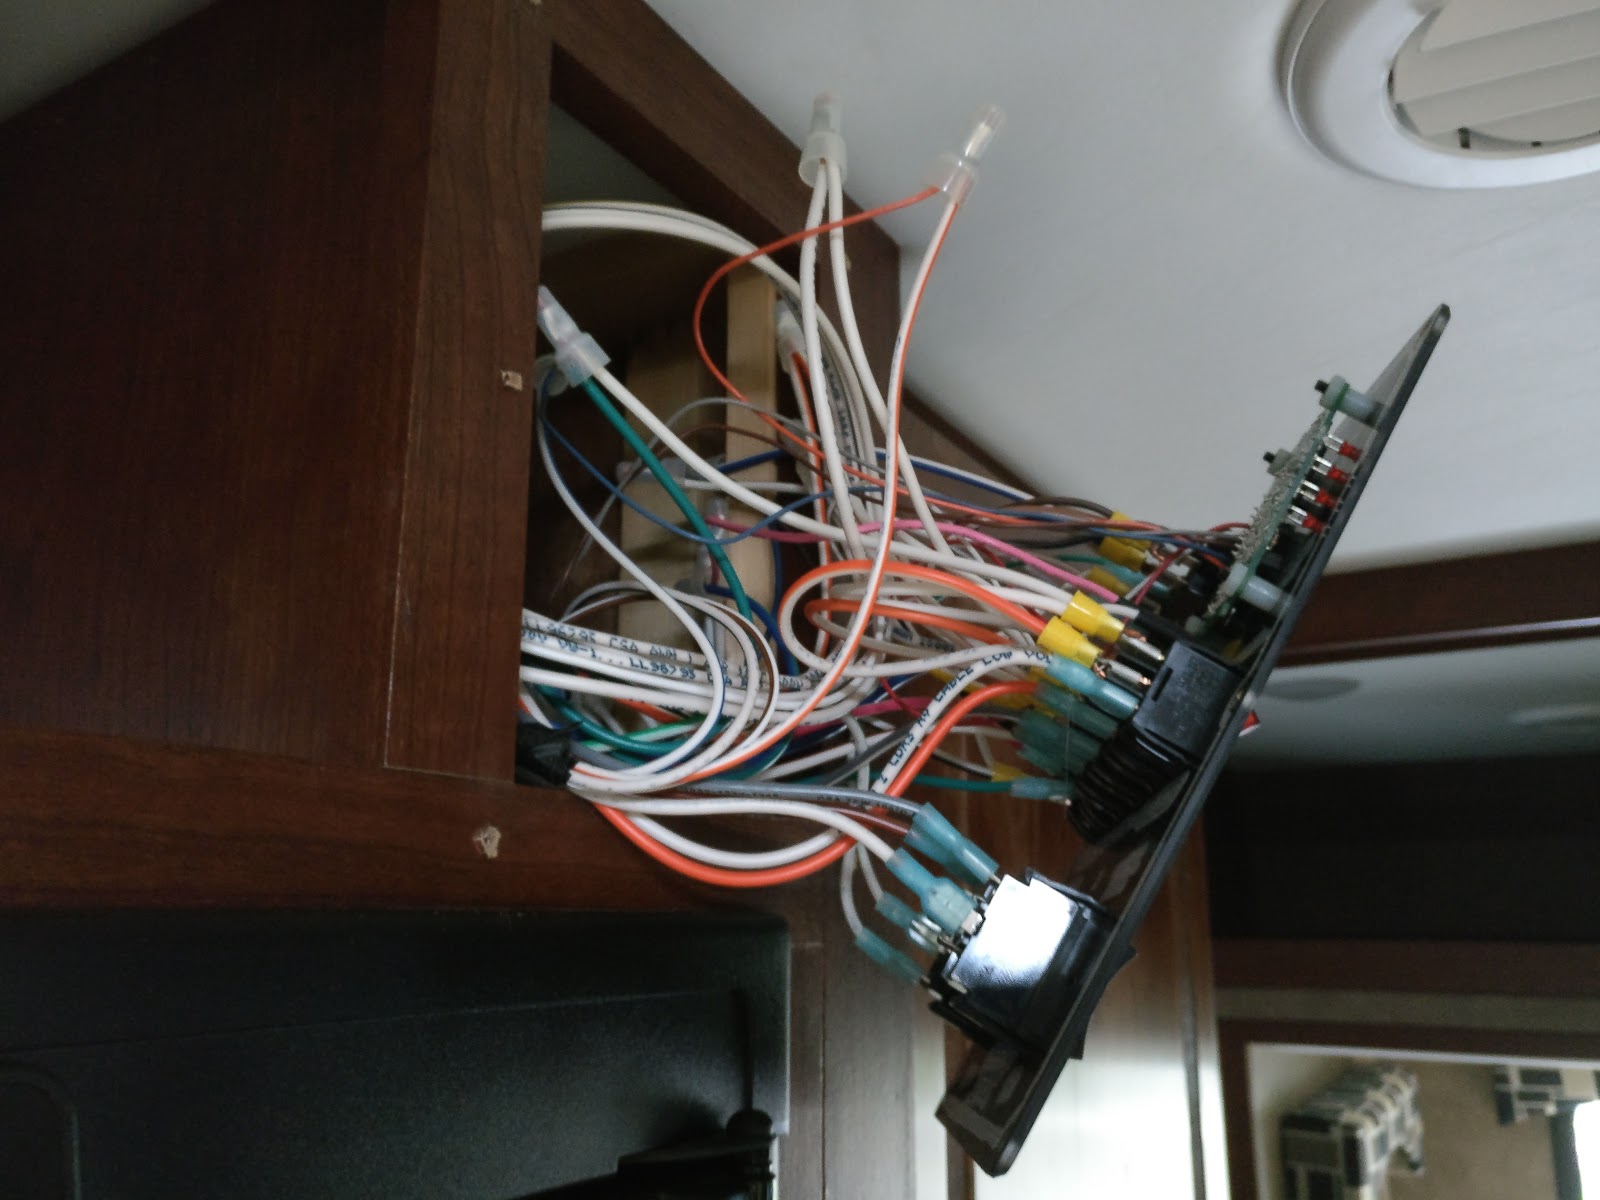
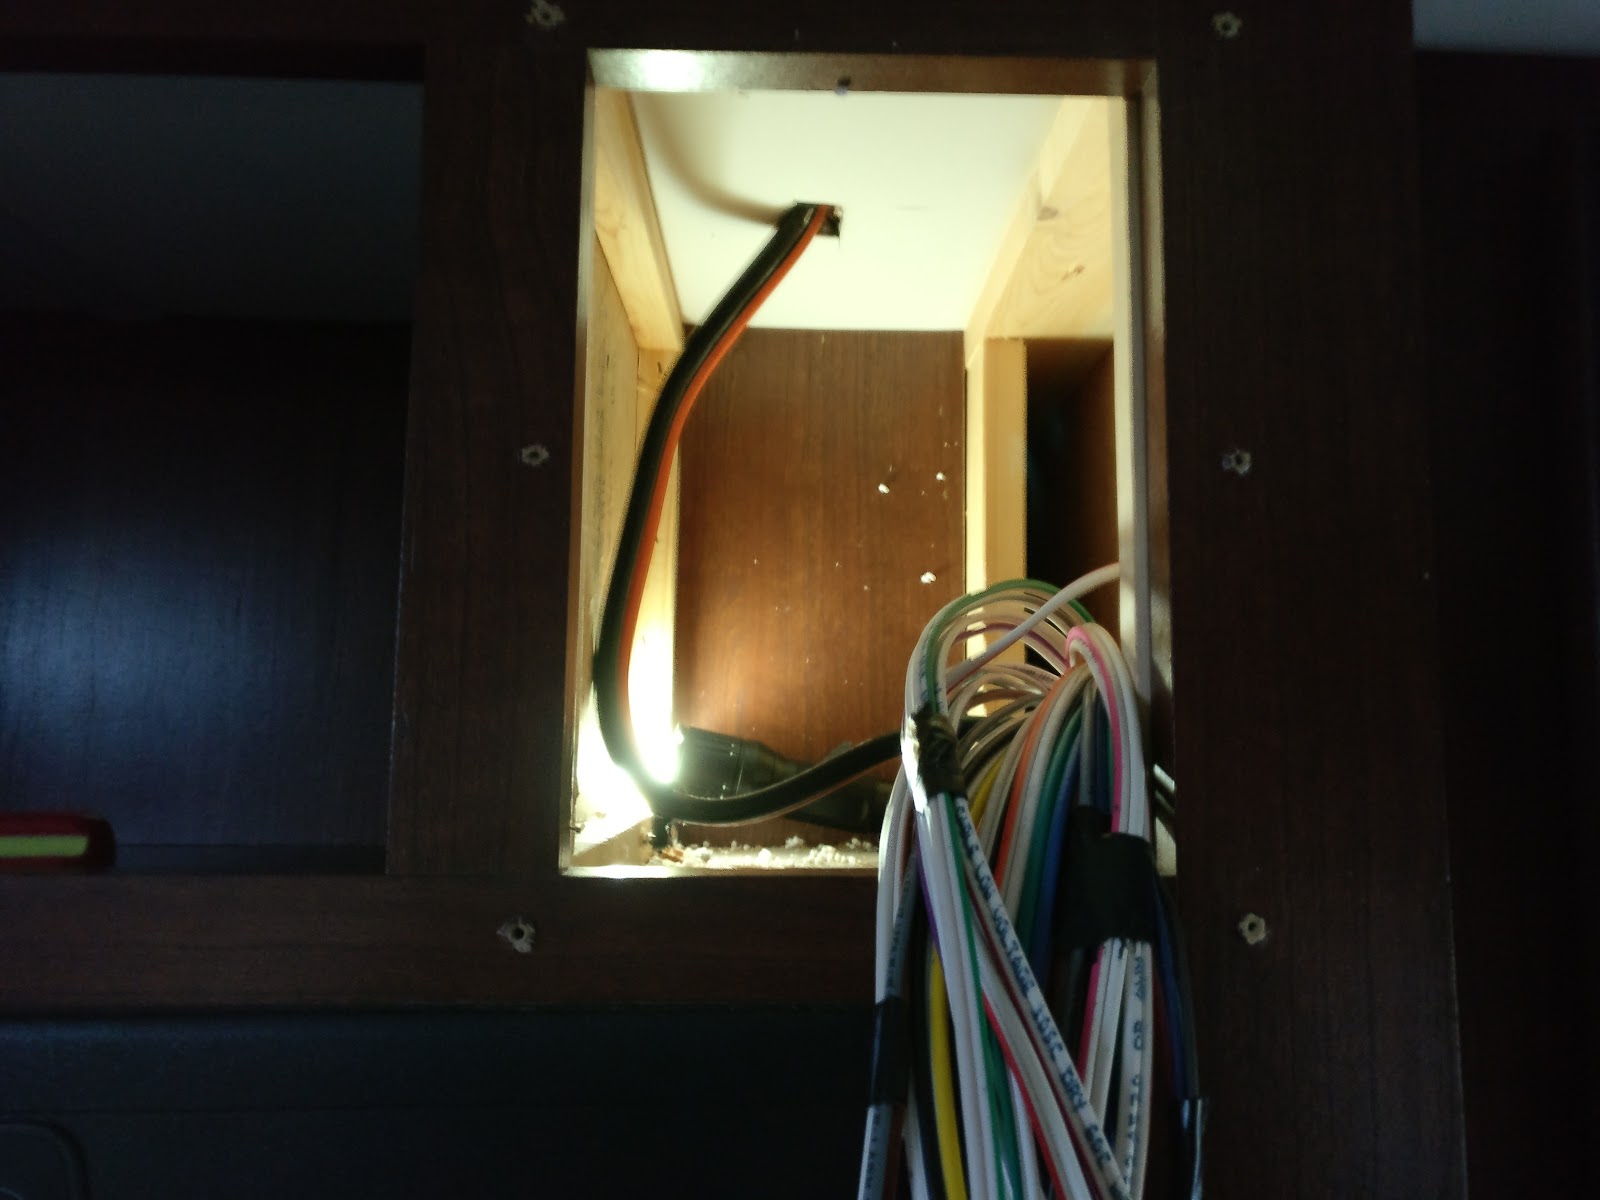
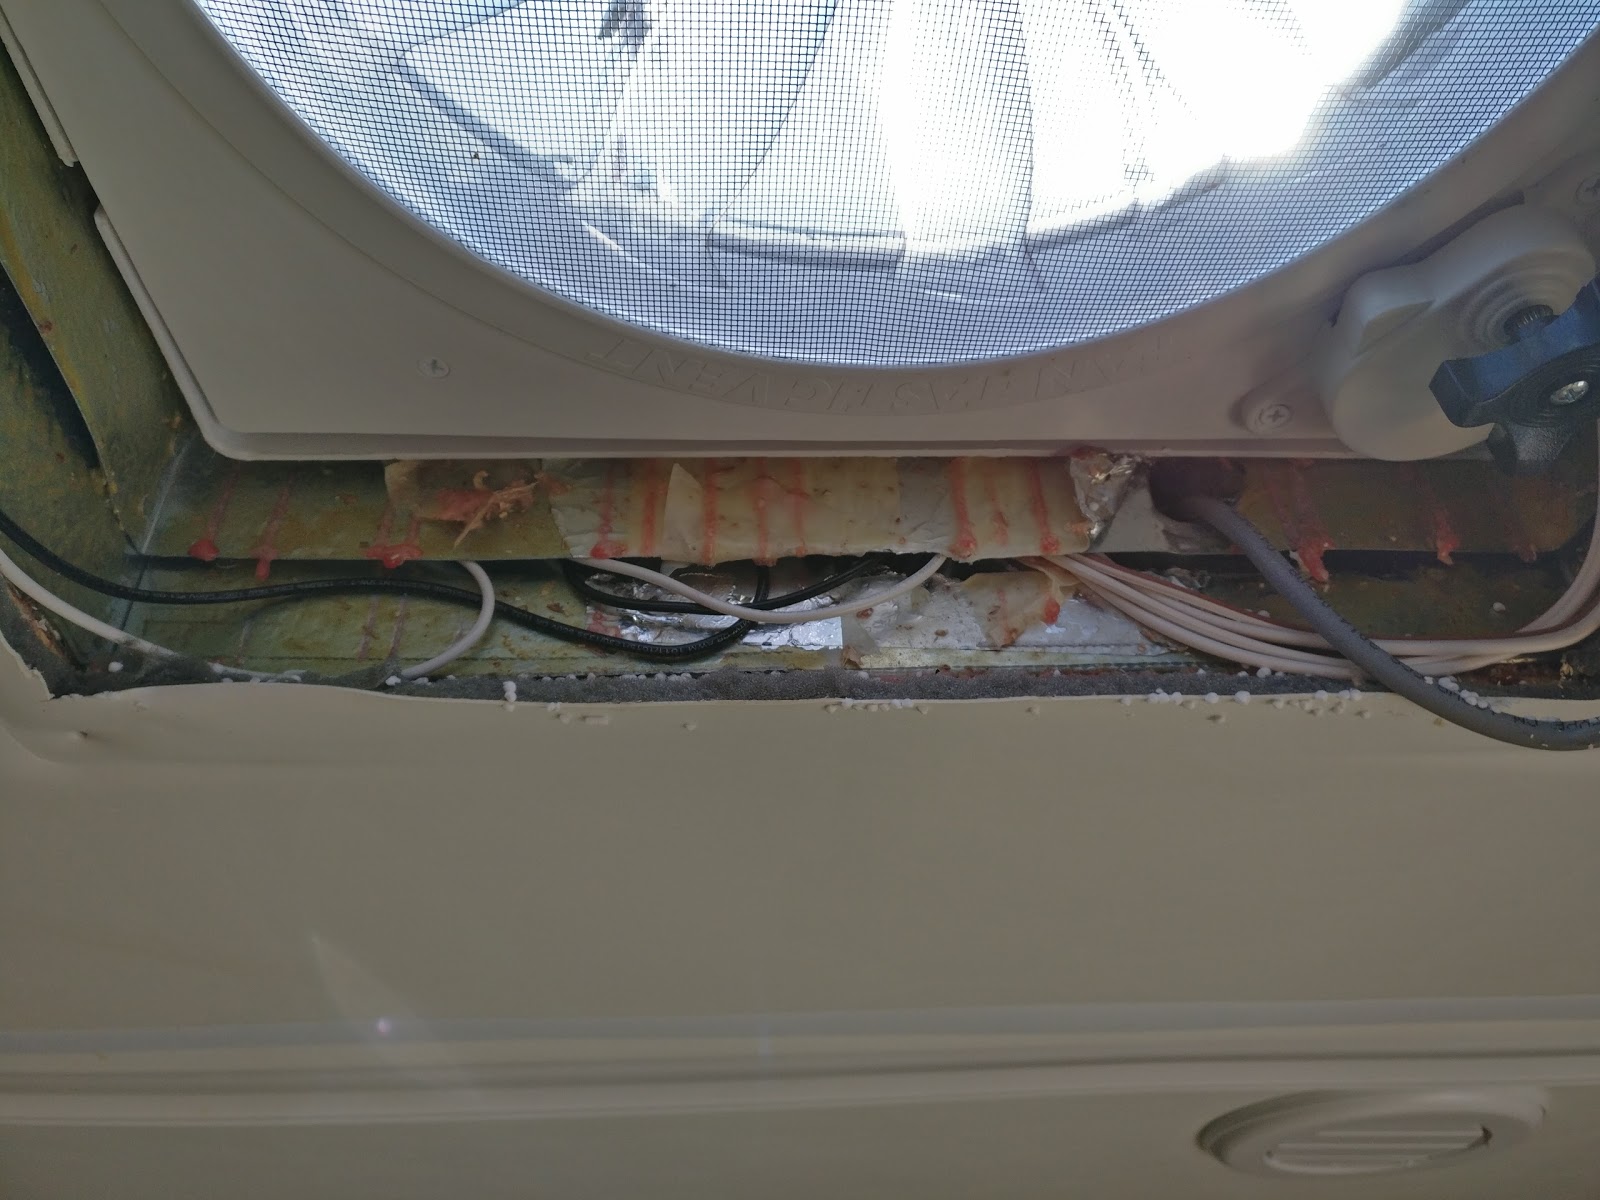
The empty space behind my Convenience Panel is the perfect place to bring my Solar wires into
the RV from the roof, then down the side of the refrigerator to the Solar Controller. AmSolar's
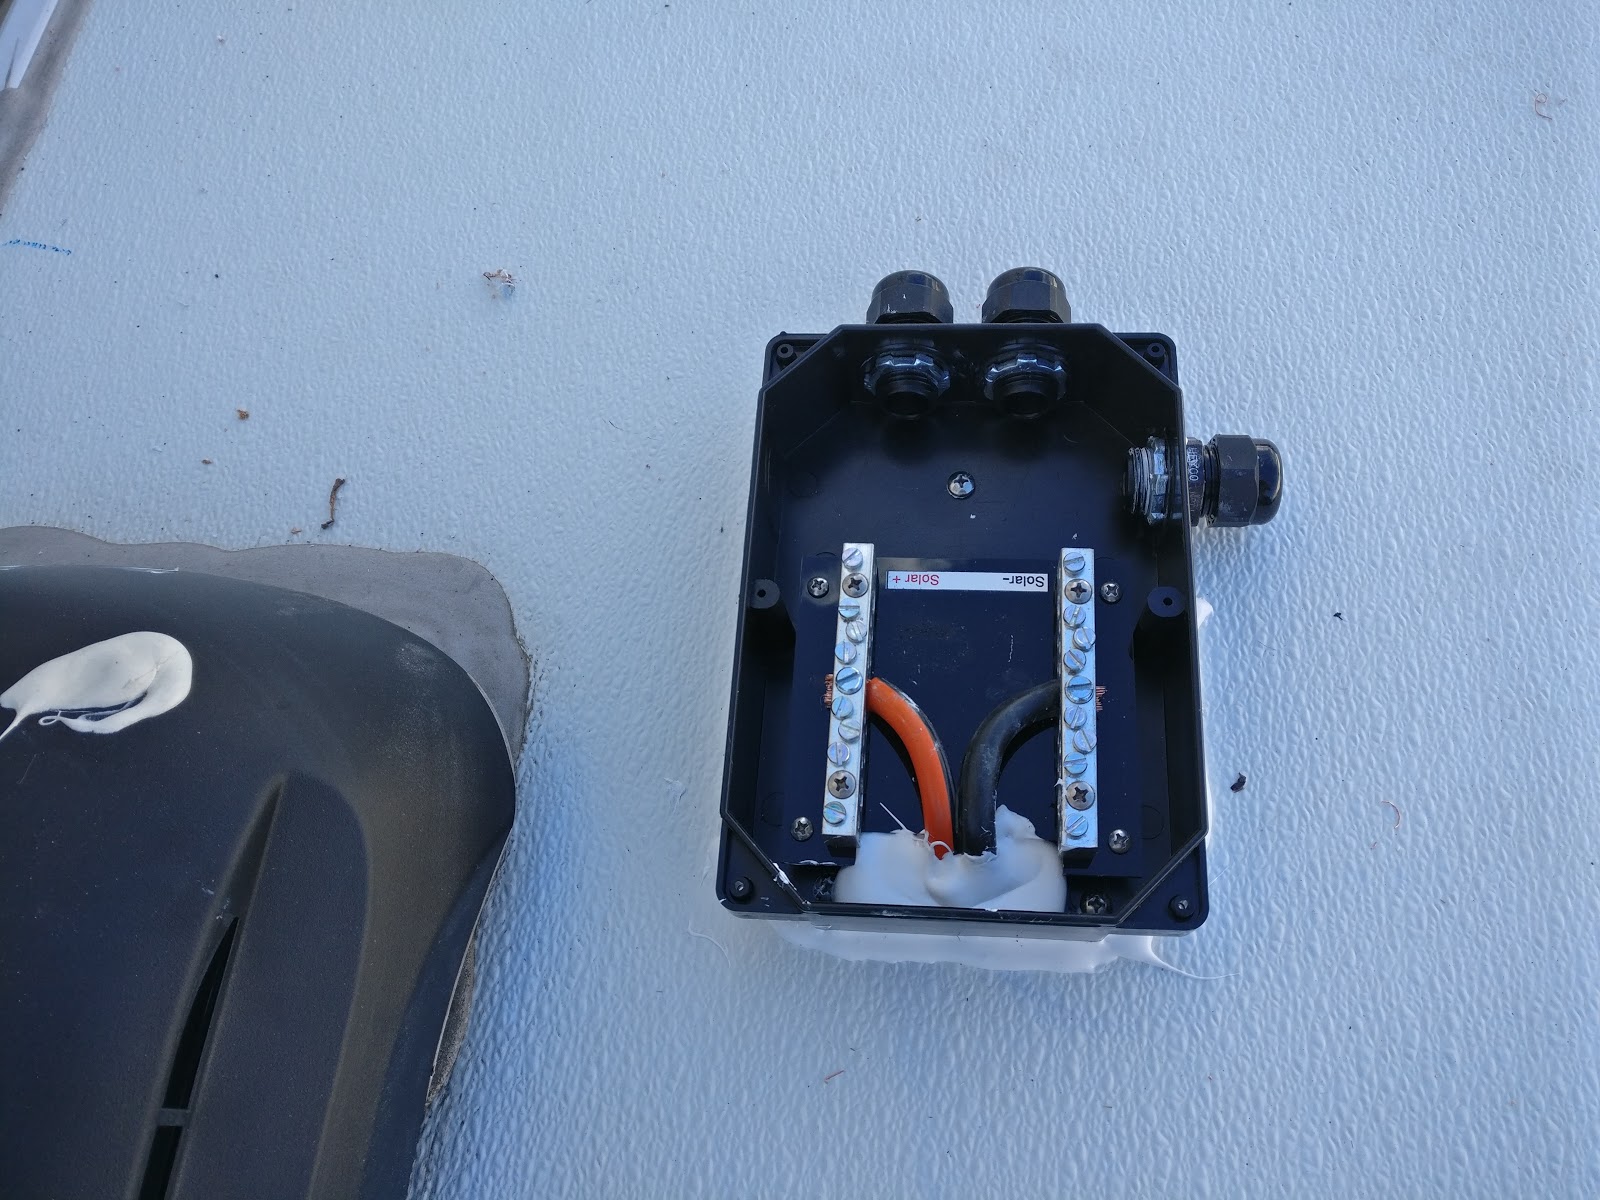
Combiner Box is designed to allow you to drill a hole thru the roof to run your cables while
ensuring that no water can get inside. I could also modify the box and just bring the wires
thru the fridge vent but I would still have to drill into the RV and reseal those holes so I
chose to bring the wires into the space behind the Convenience Center, drilling a pilot hole from
the inside out, once I determined roughly where the hole would be on the roof.
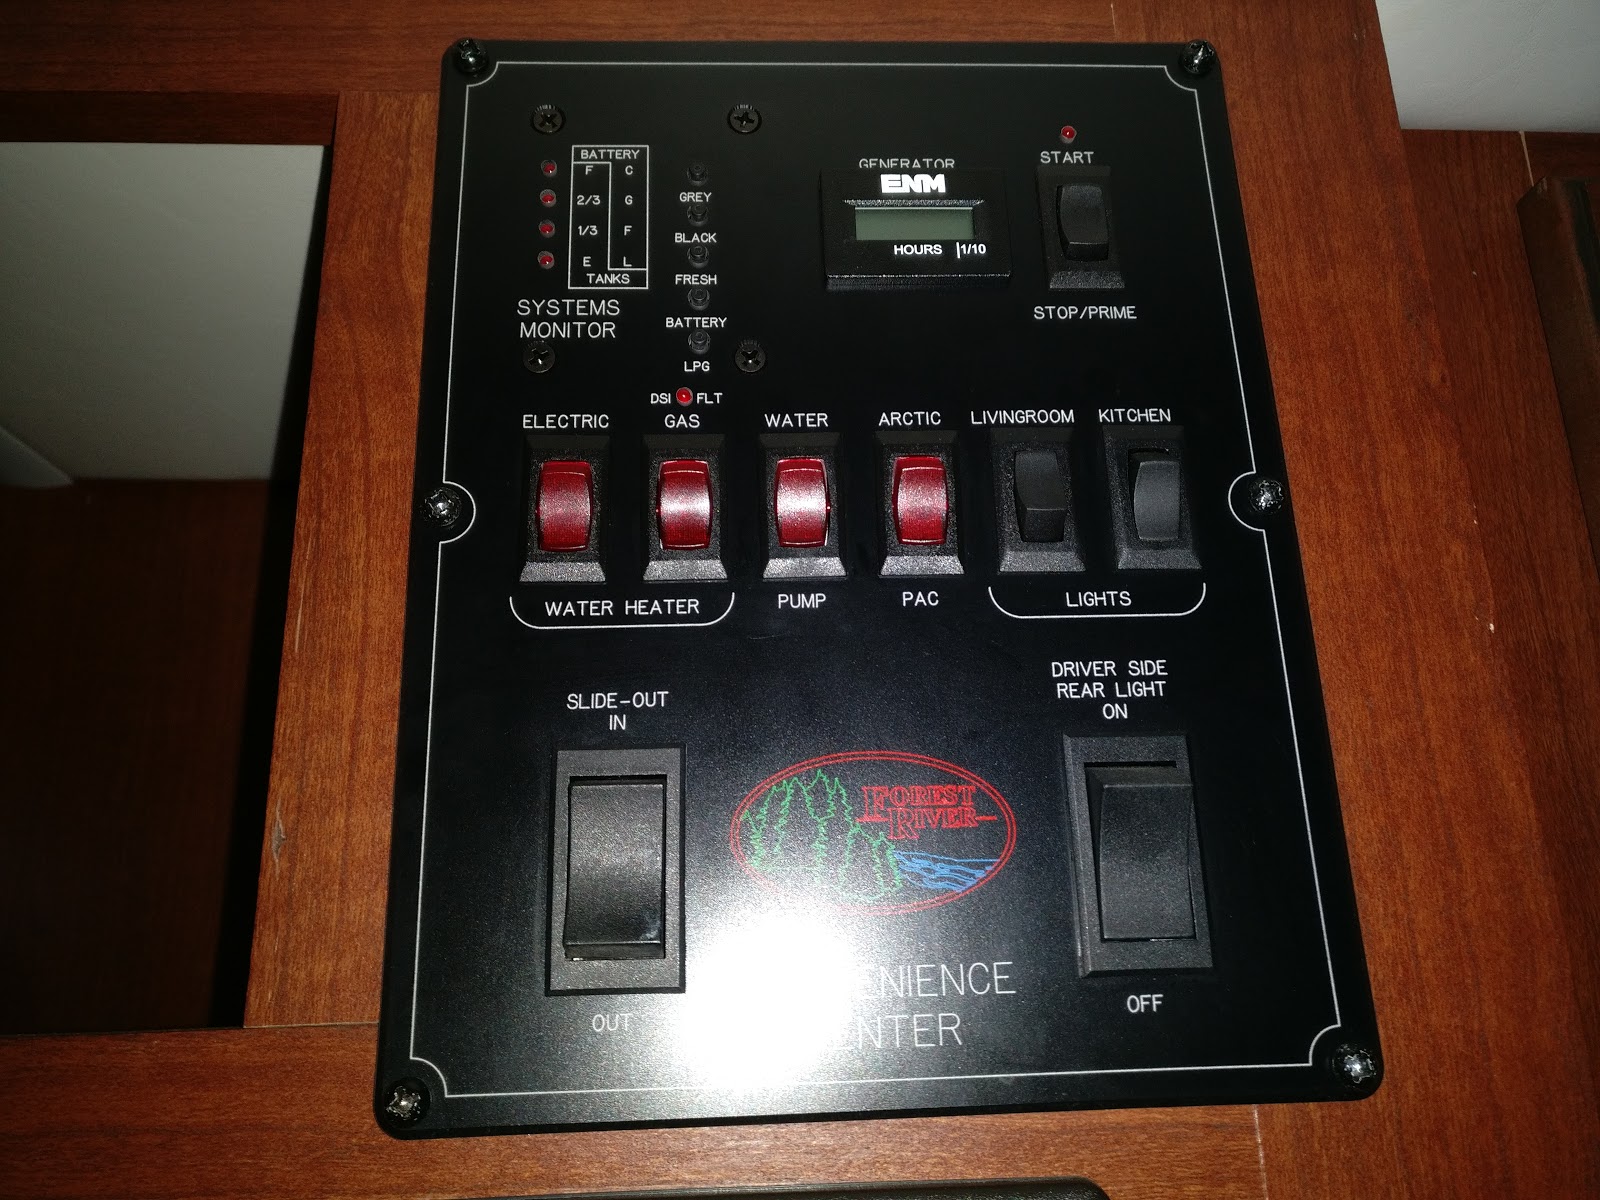
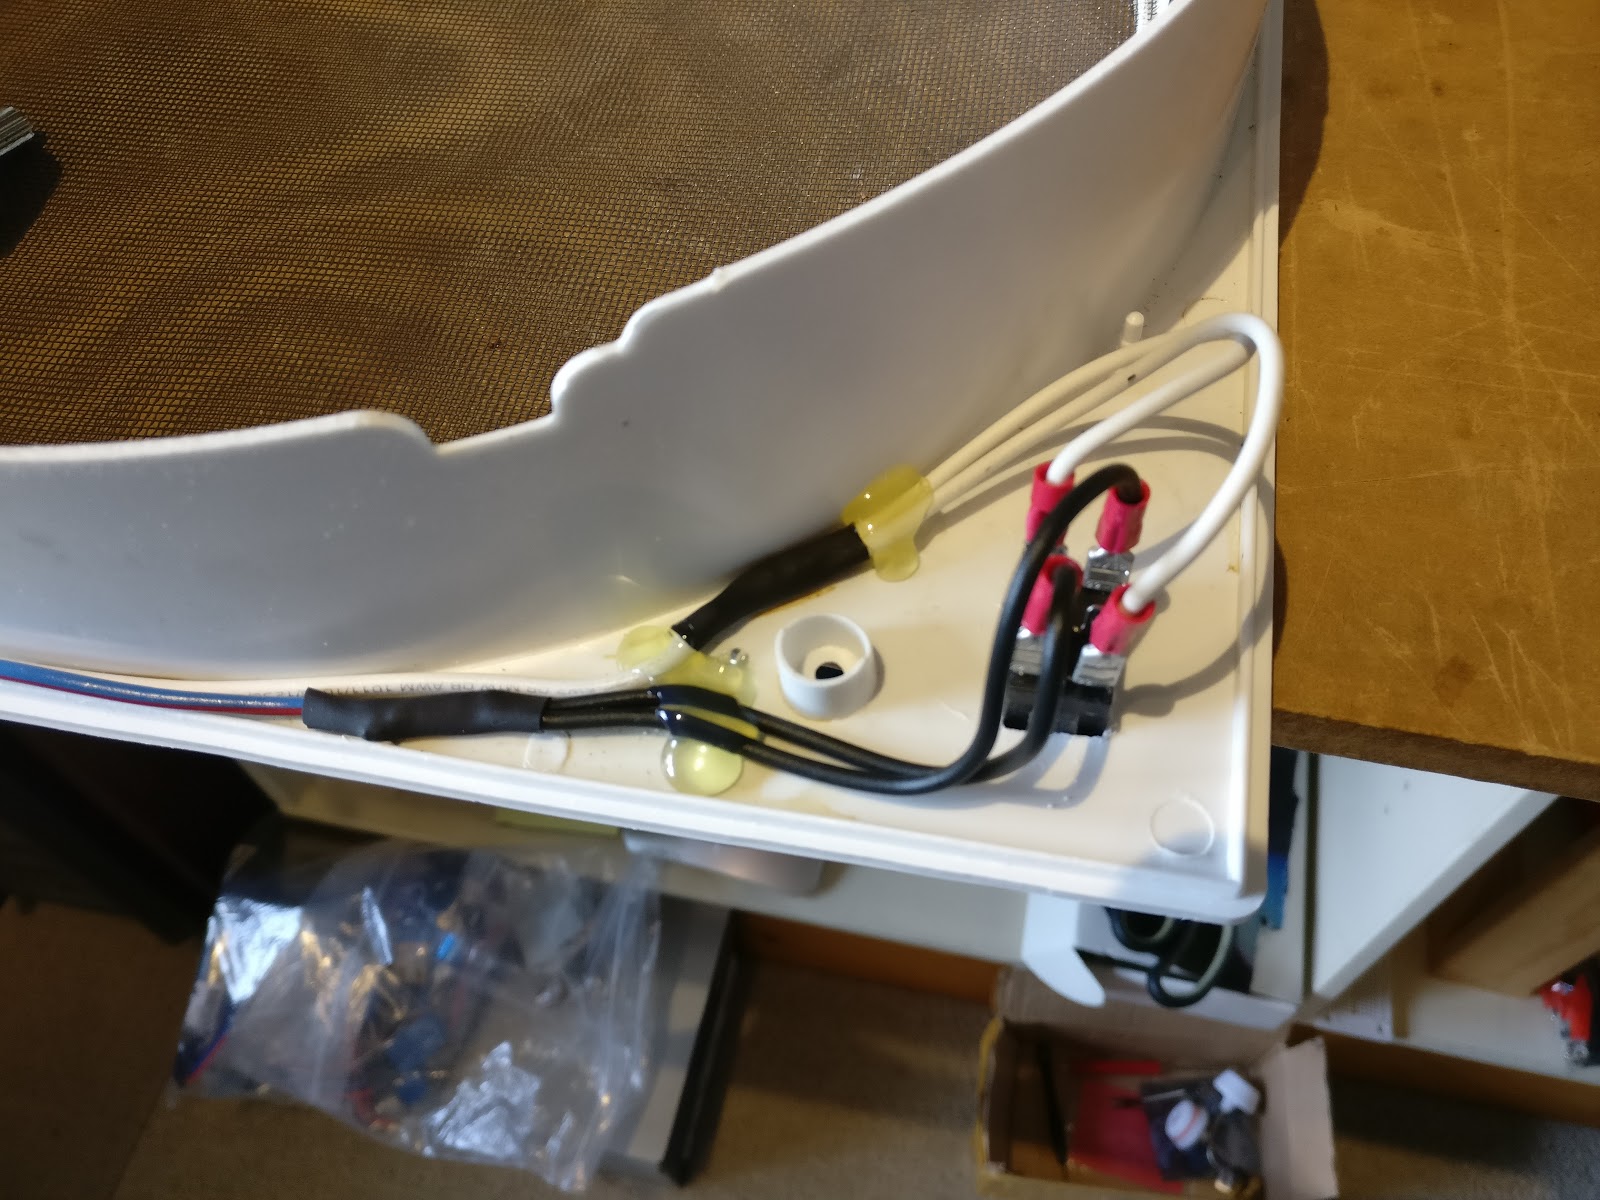
Control Panel
Bedroom Wall or Step Well
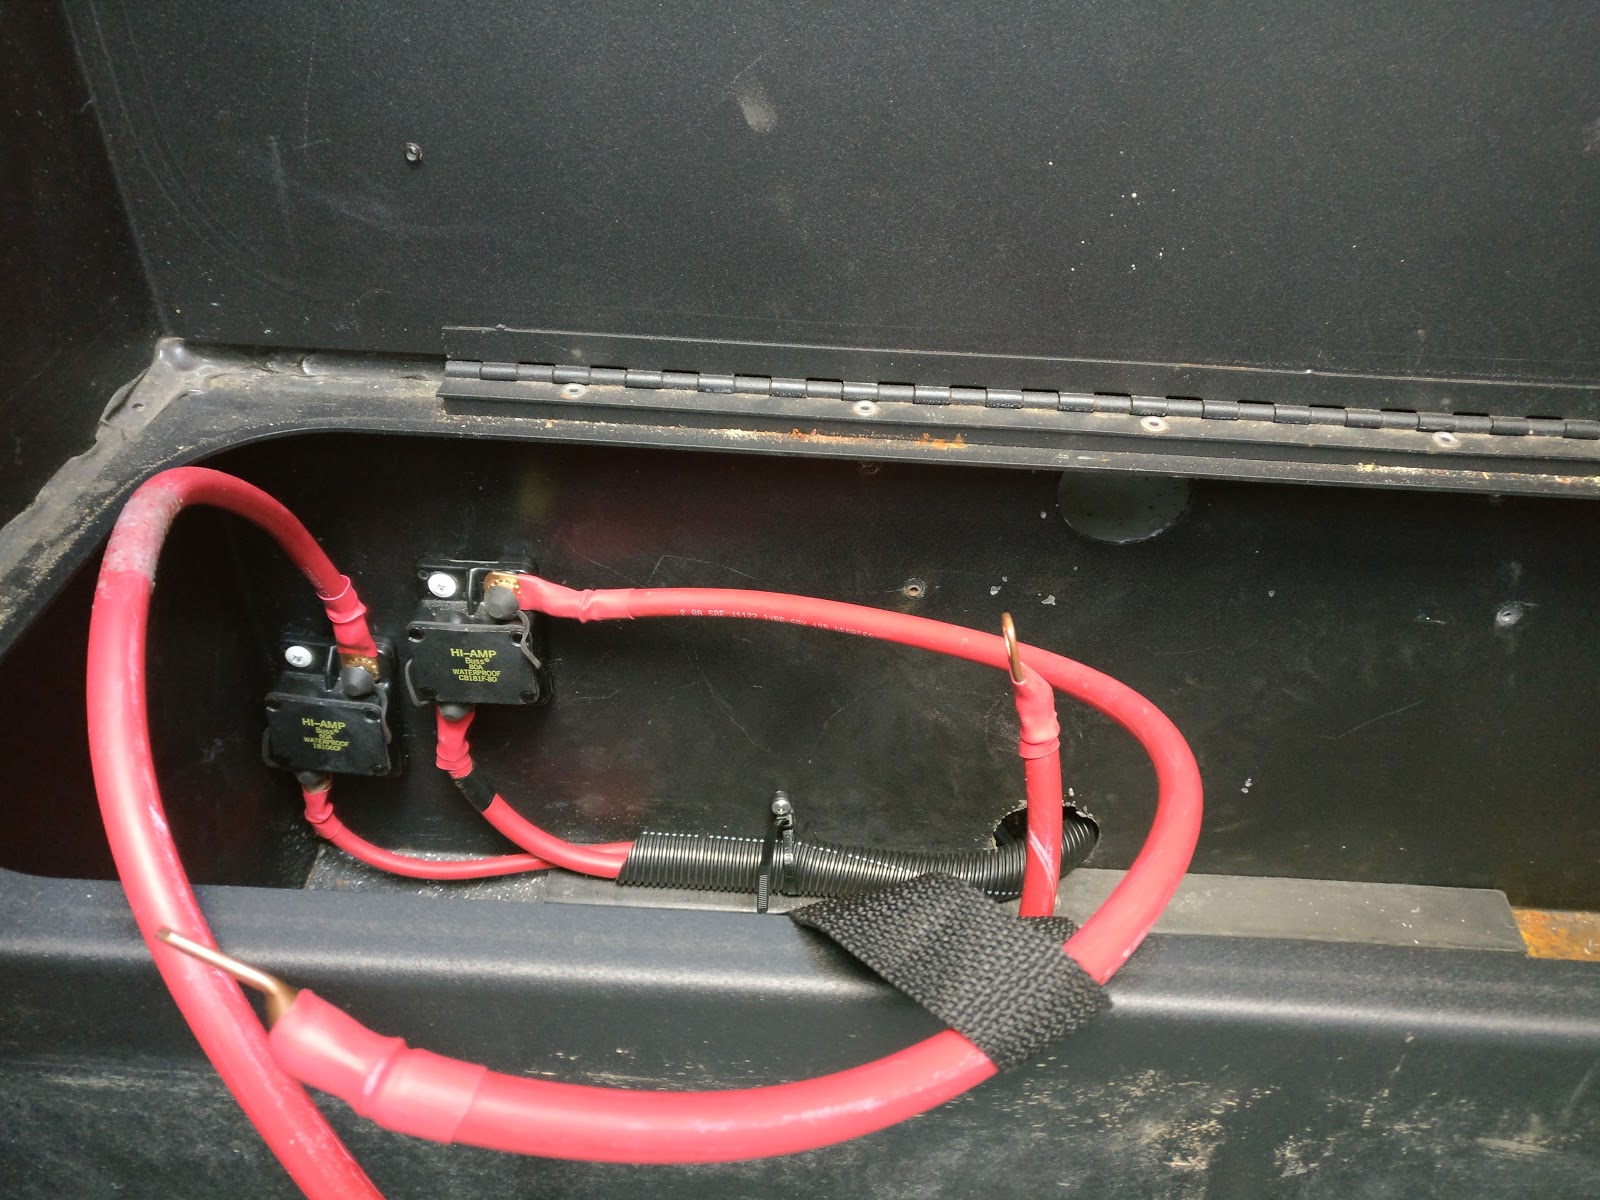
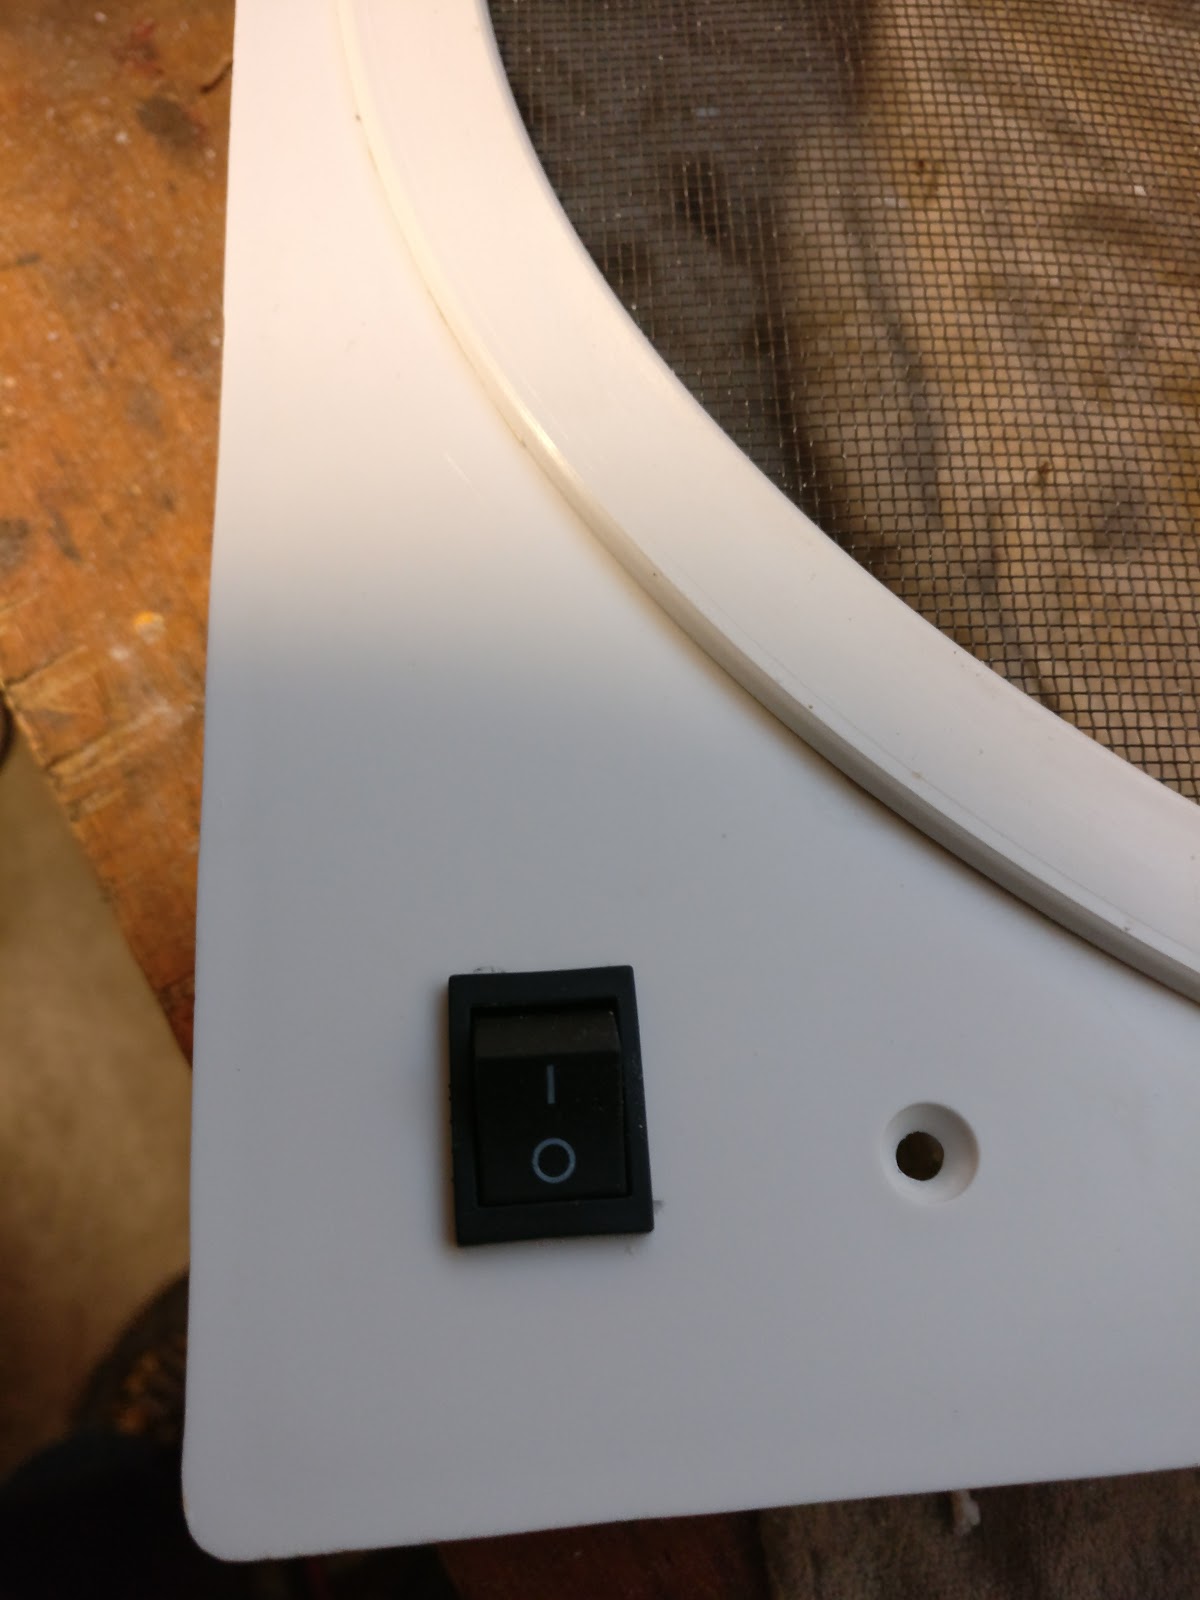
Solar High Current Switch
In Step Well
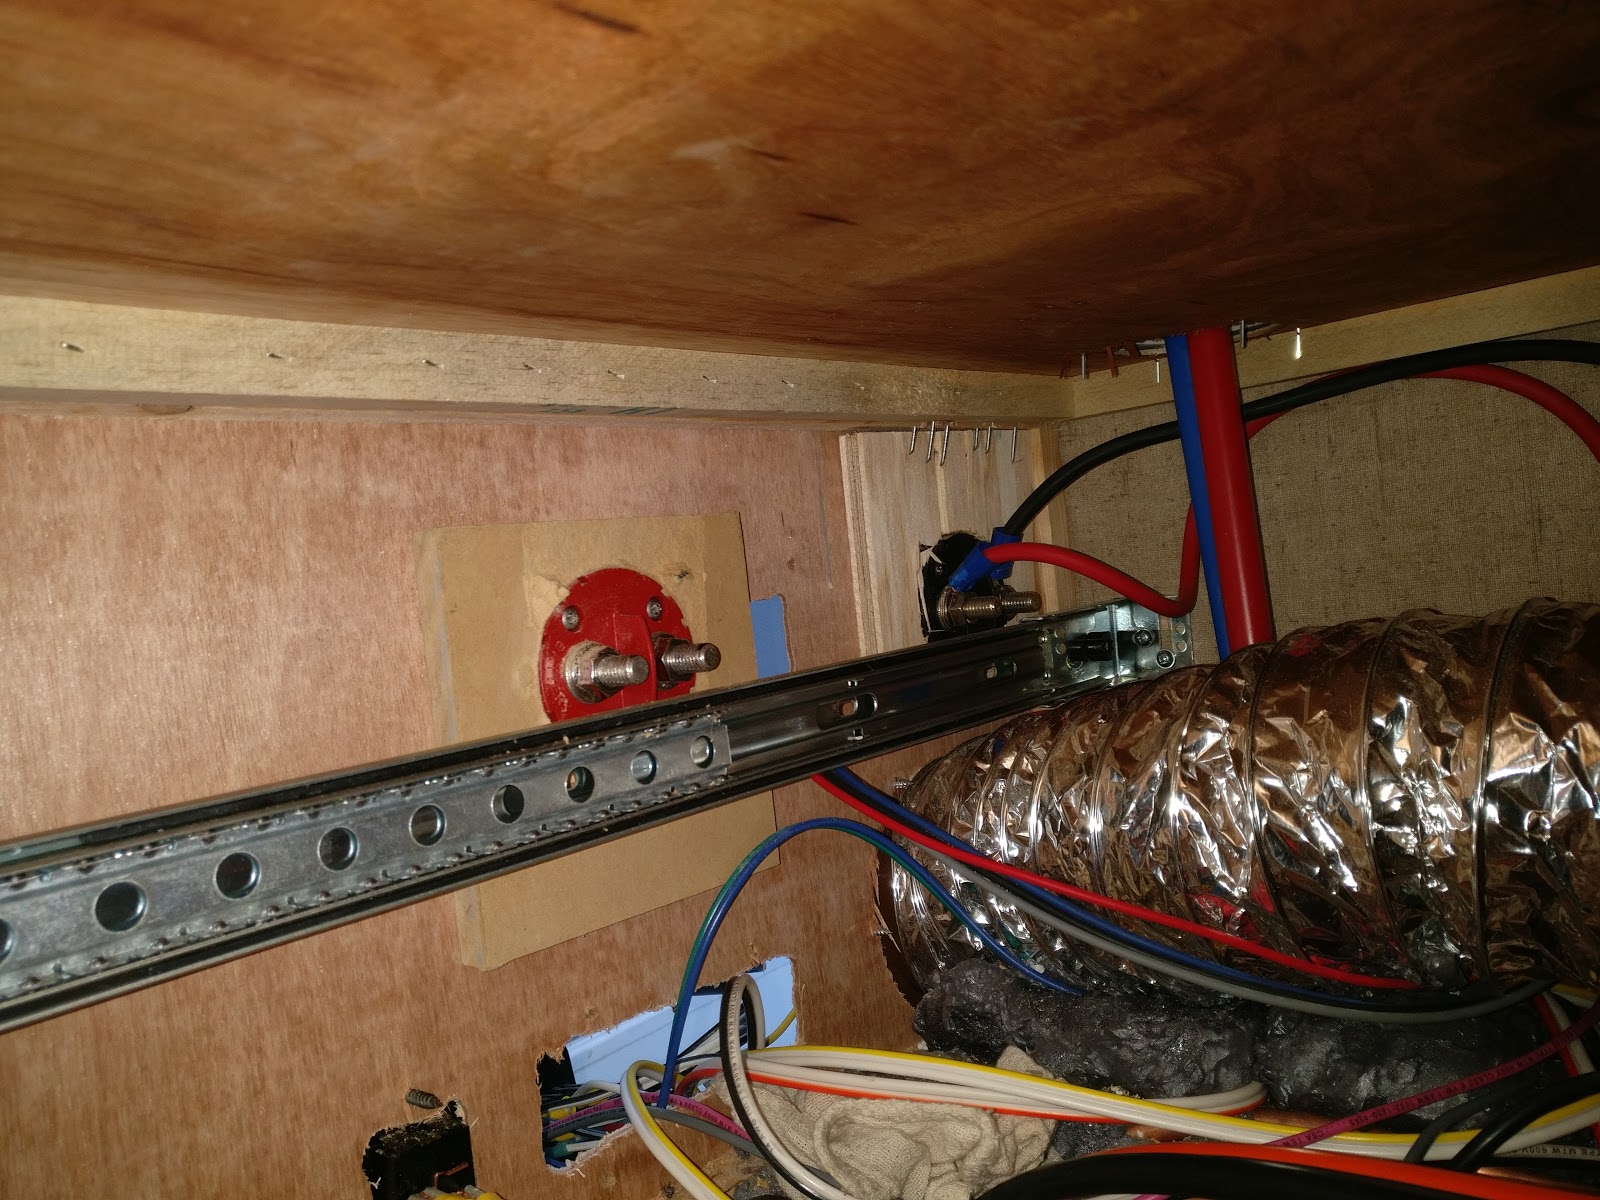
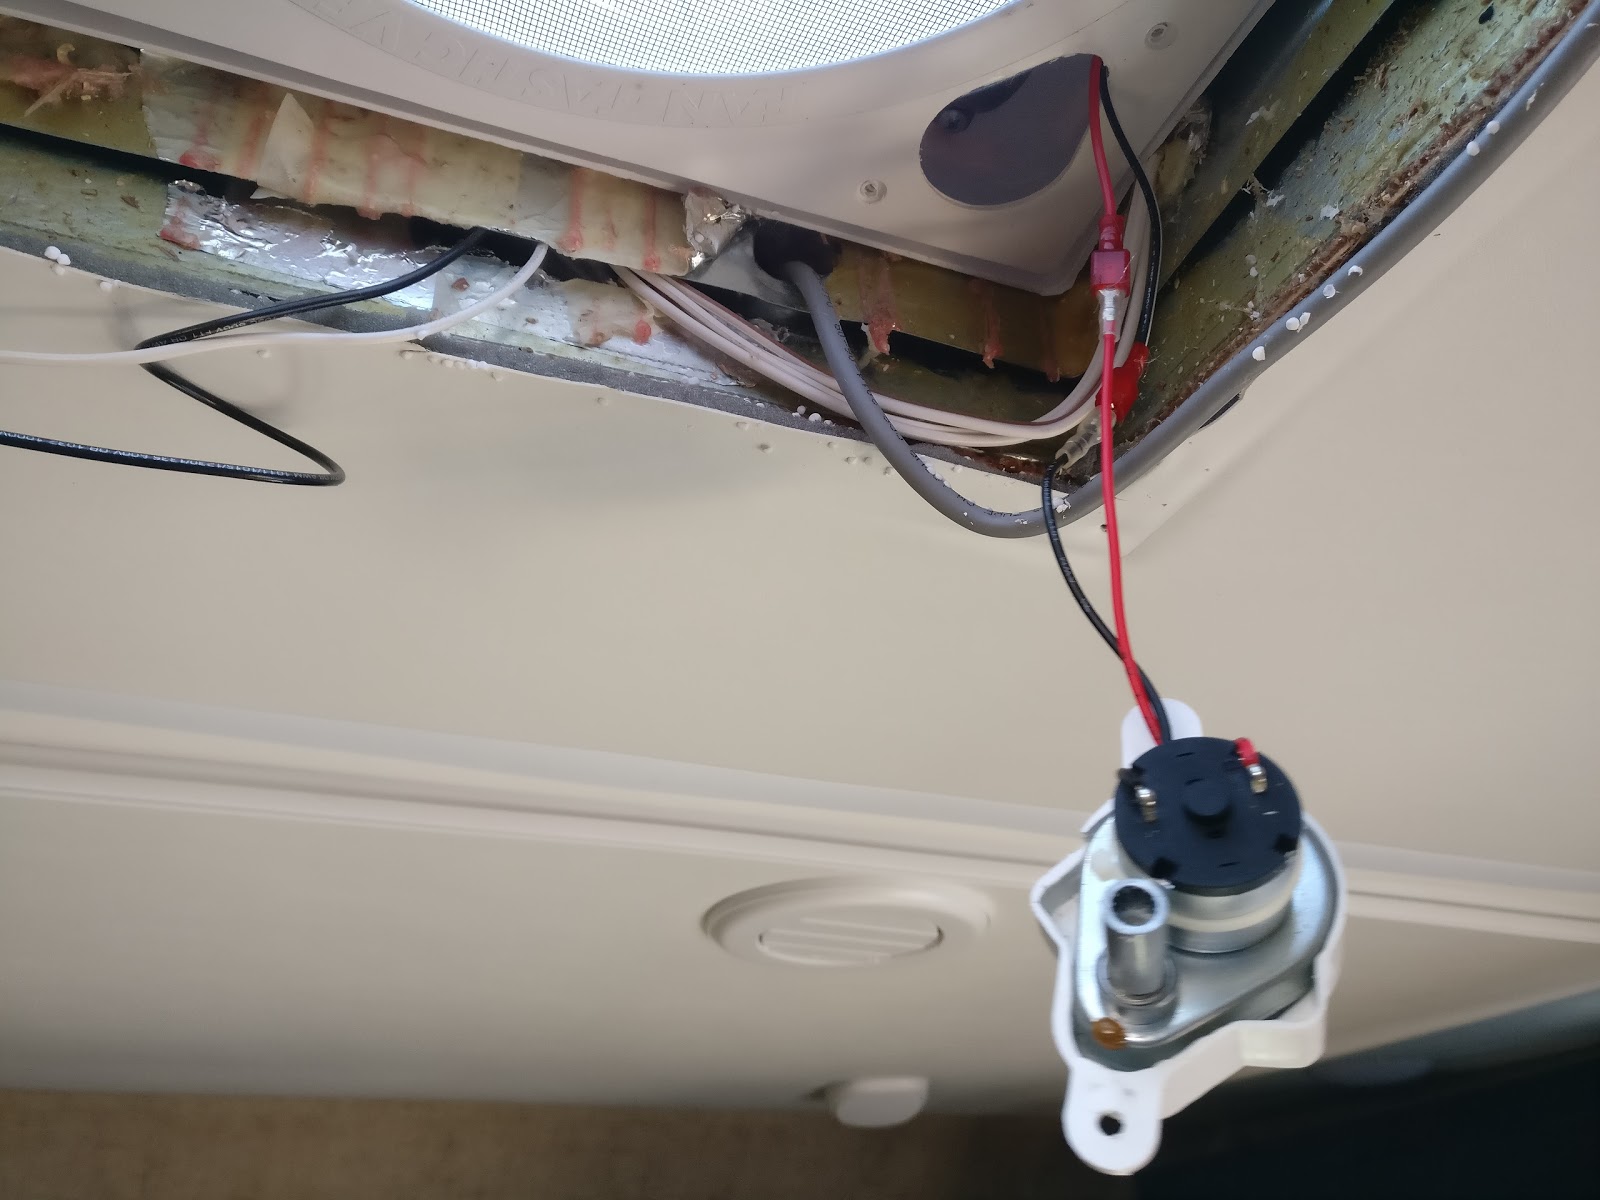
Solar Controller 30 Amp Circuit Breaker and Shunt
Mounted in Battery Box in Stairwell within 18" of Batteries
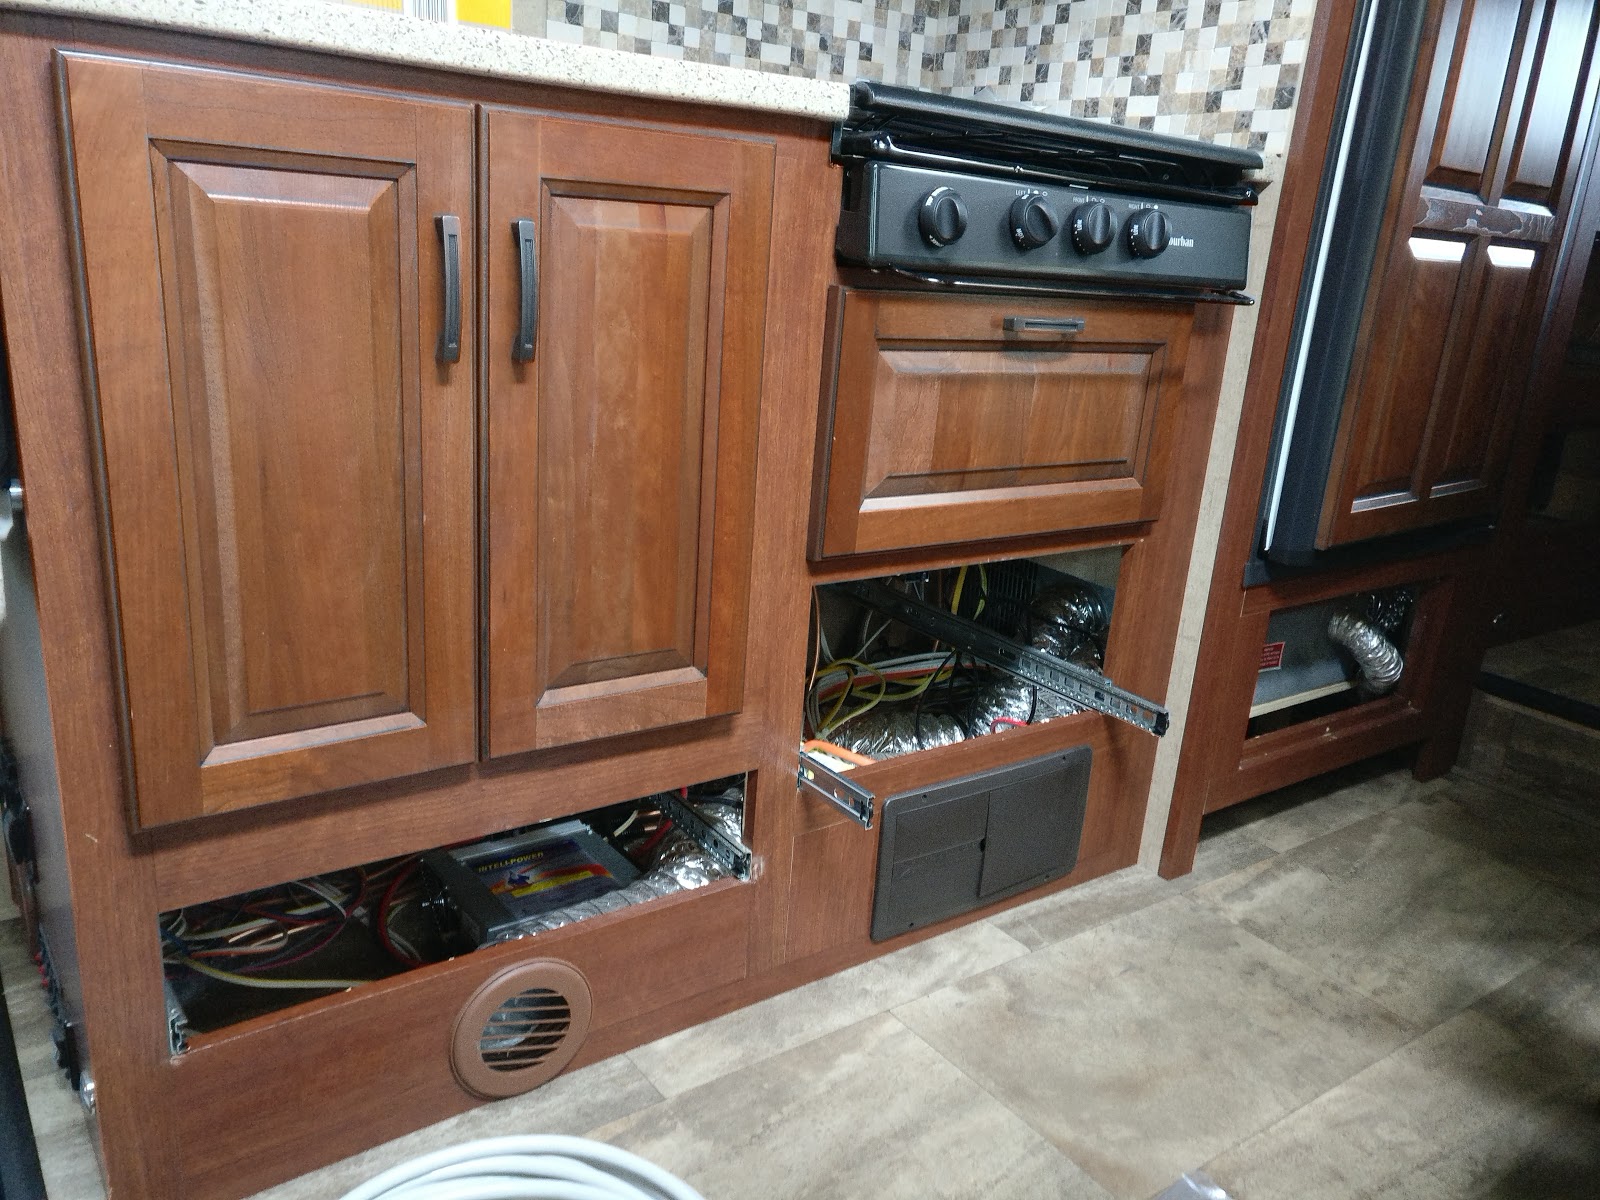
2. Remove all drawers from the right side of RV to make running wires easier
Remove sealant around propane lines by step well to run wiring to the battery box.
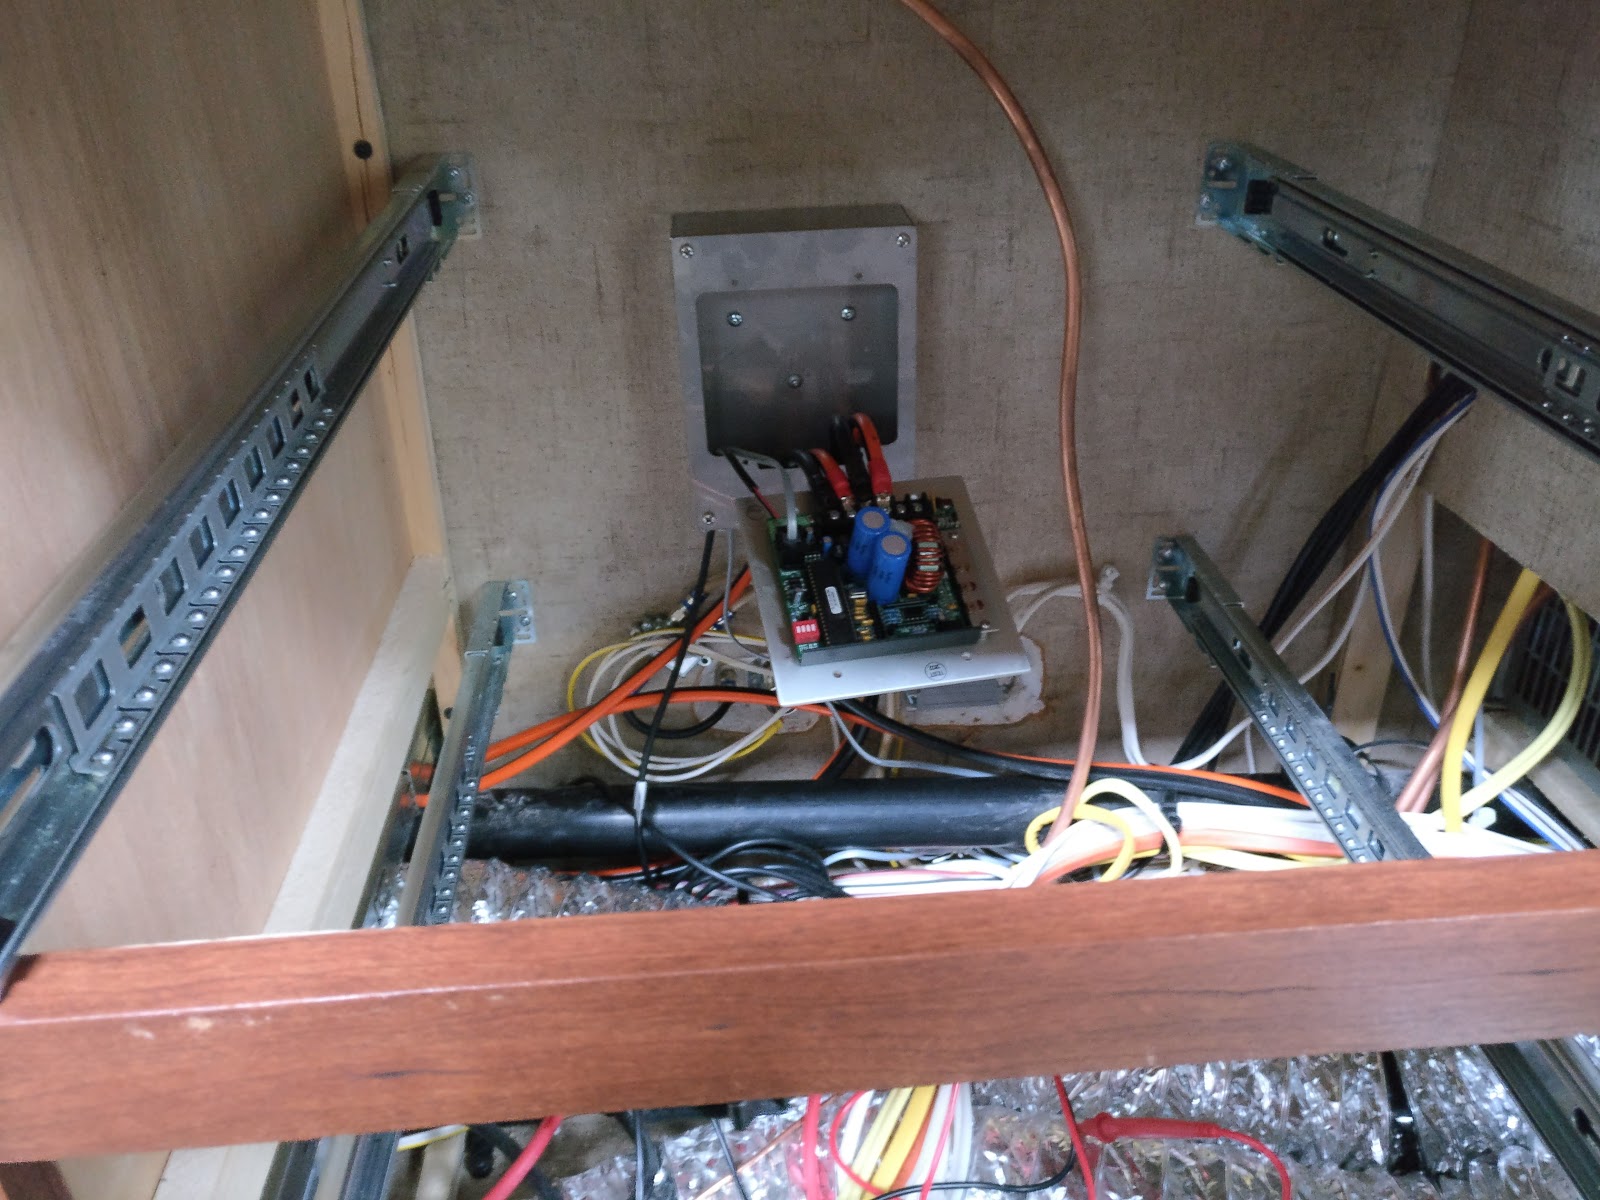
3. Install Solar Controller under Kitchen Cabinet on inside Exterior Wall.
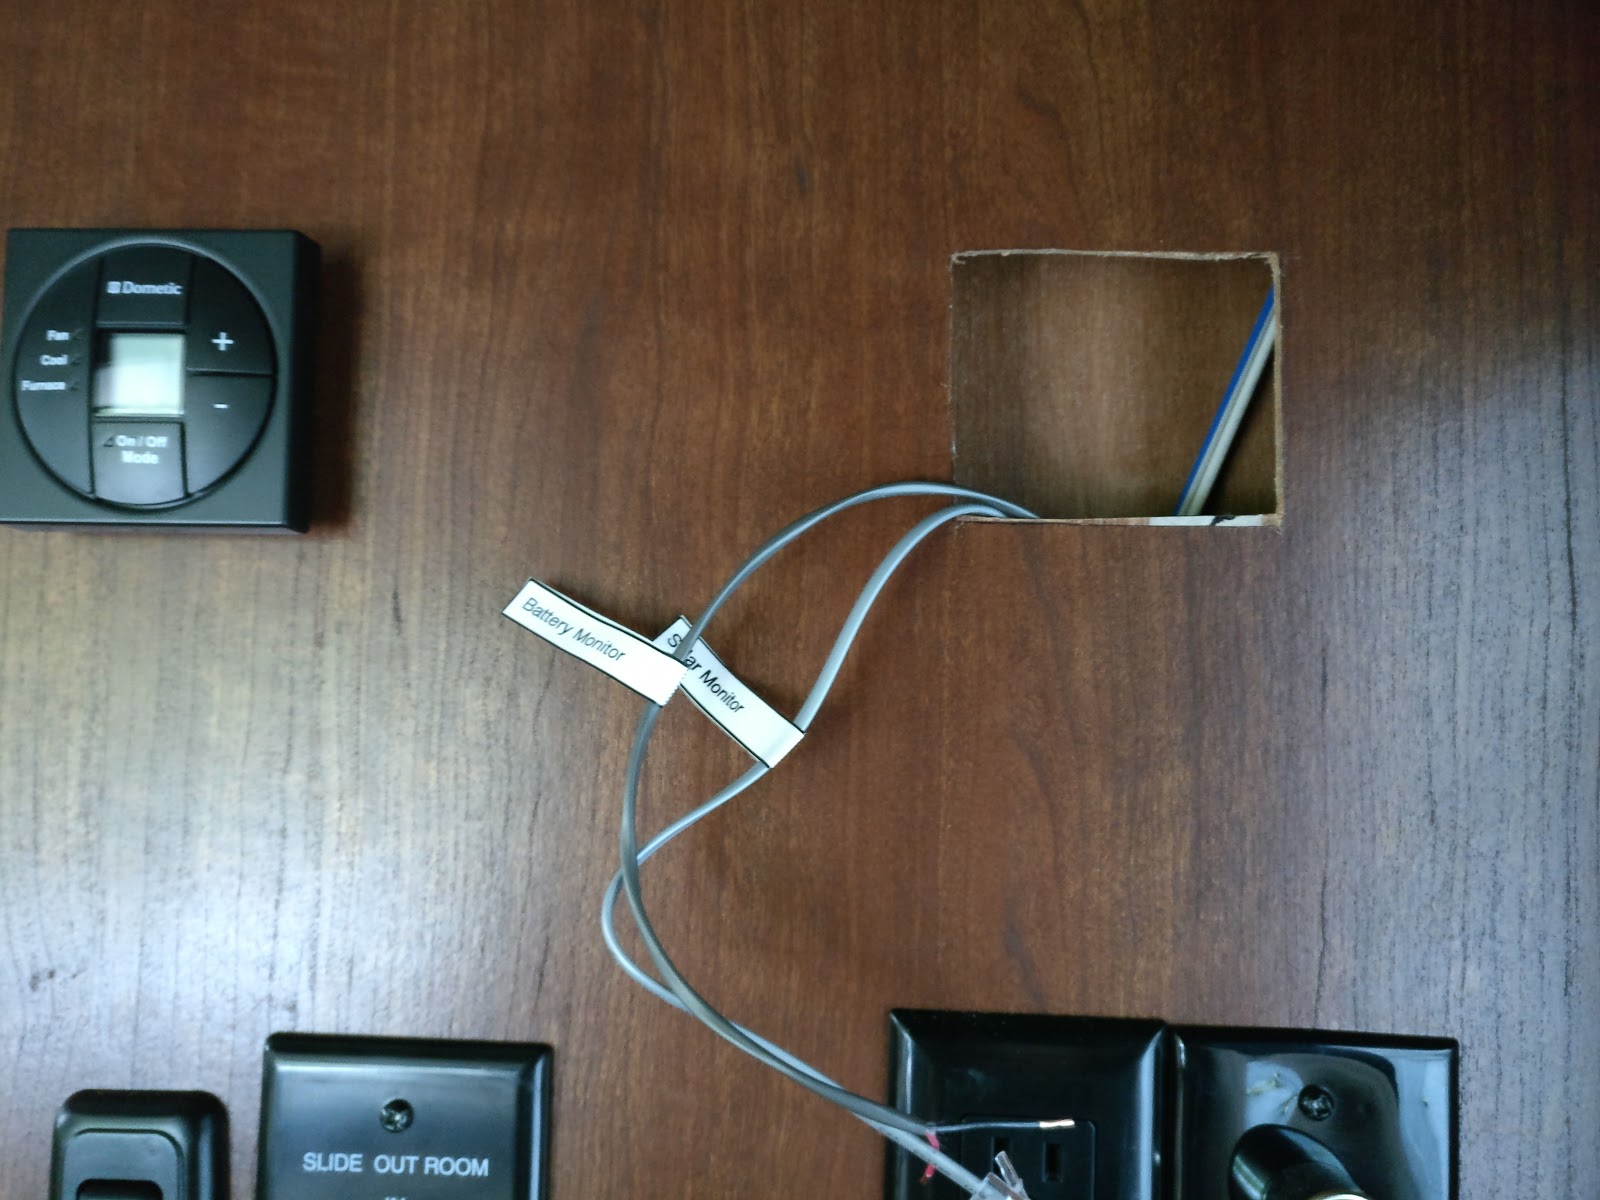
4. Installed control panel on bedroom wall by TV mount location run RJ-11 control wire to solar
controller and 18/2 signal shunt wiring to the battery compartment. (red positive shunt wire goes
to shunt terminal that is attached to battery negative terminal.)
5. Install Solar Panel Disconnect Switch in Step Well.
6. Run power cables from charge controller to battery box as well as temp sensor wire.
7. Install combiner box on roof run cables to Solar Controller. In order to do this, I removed the convenience center in order to access the space behind it.
Then after checking everything twice to verify I would not be drilling into anything. I drilled a 1/8 pilot hole up thru the roof after climbing back up on the roof I found that I was 2" away from where I thought I would be an even worse I missed drilling thru a bundle of wire by 1 mm boy did I feel lucky.
8. Install panels using alcohol, wiping one way only to ensure the feet stick properly, cures to 50% in 10 minutes takes 3 days to fully cure.
Since the VHB tape will be compromised on the pebbled
fiberglass roof, mark foot location then using a scotch pad scrub foot location to remove high spots and ensure the area is clean then use isopropyl rubbing alcohol to
clean clean clean the area, wiping in one direction only - set panel in place.
After allowing feet to set ( I waited 3 days) I applied 3M 5200 all around the foot and 1/2" on all sides this really is just extra insurance as after the 3 day setup period I could not move the panels at all. The 3M 5200 takes 7 days to fully cure.
9 Wire panels and run wiring to the combiner box. Make sure to keep panels covered as they will produce electricity even on cloudy days mine still showed a voltage of 7 volts, even with the cardboard covering it.
10. Final wiring and checks. Once the panels were mounted I finished the controller and high current switch wiring. I probably should have done this first but was not sure were the combiner box would end up. The wiring was straightforward negative PV wire to the controller positive PV wire runs first to the high current switch so you can turn the panels off then to the controller. Battery wires run from the battery box to the controller positive wire runs thru a 30 amp circuit breaker mounted in the battery box.
Once that is done all that is left is to turn on the controller breaker program the controller then turn on the panels and enjoy all that free energy.