My RV came with two Fantastic Fans which pleased me but neither had the ability to reverse direction, after spending some time searching on the Internet I found out it was possible to purchase upgrade kits to add that function but the cost, at over $100.00 just didn't make it worth it.
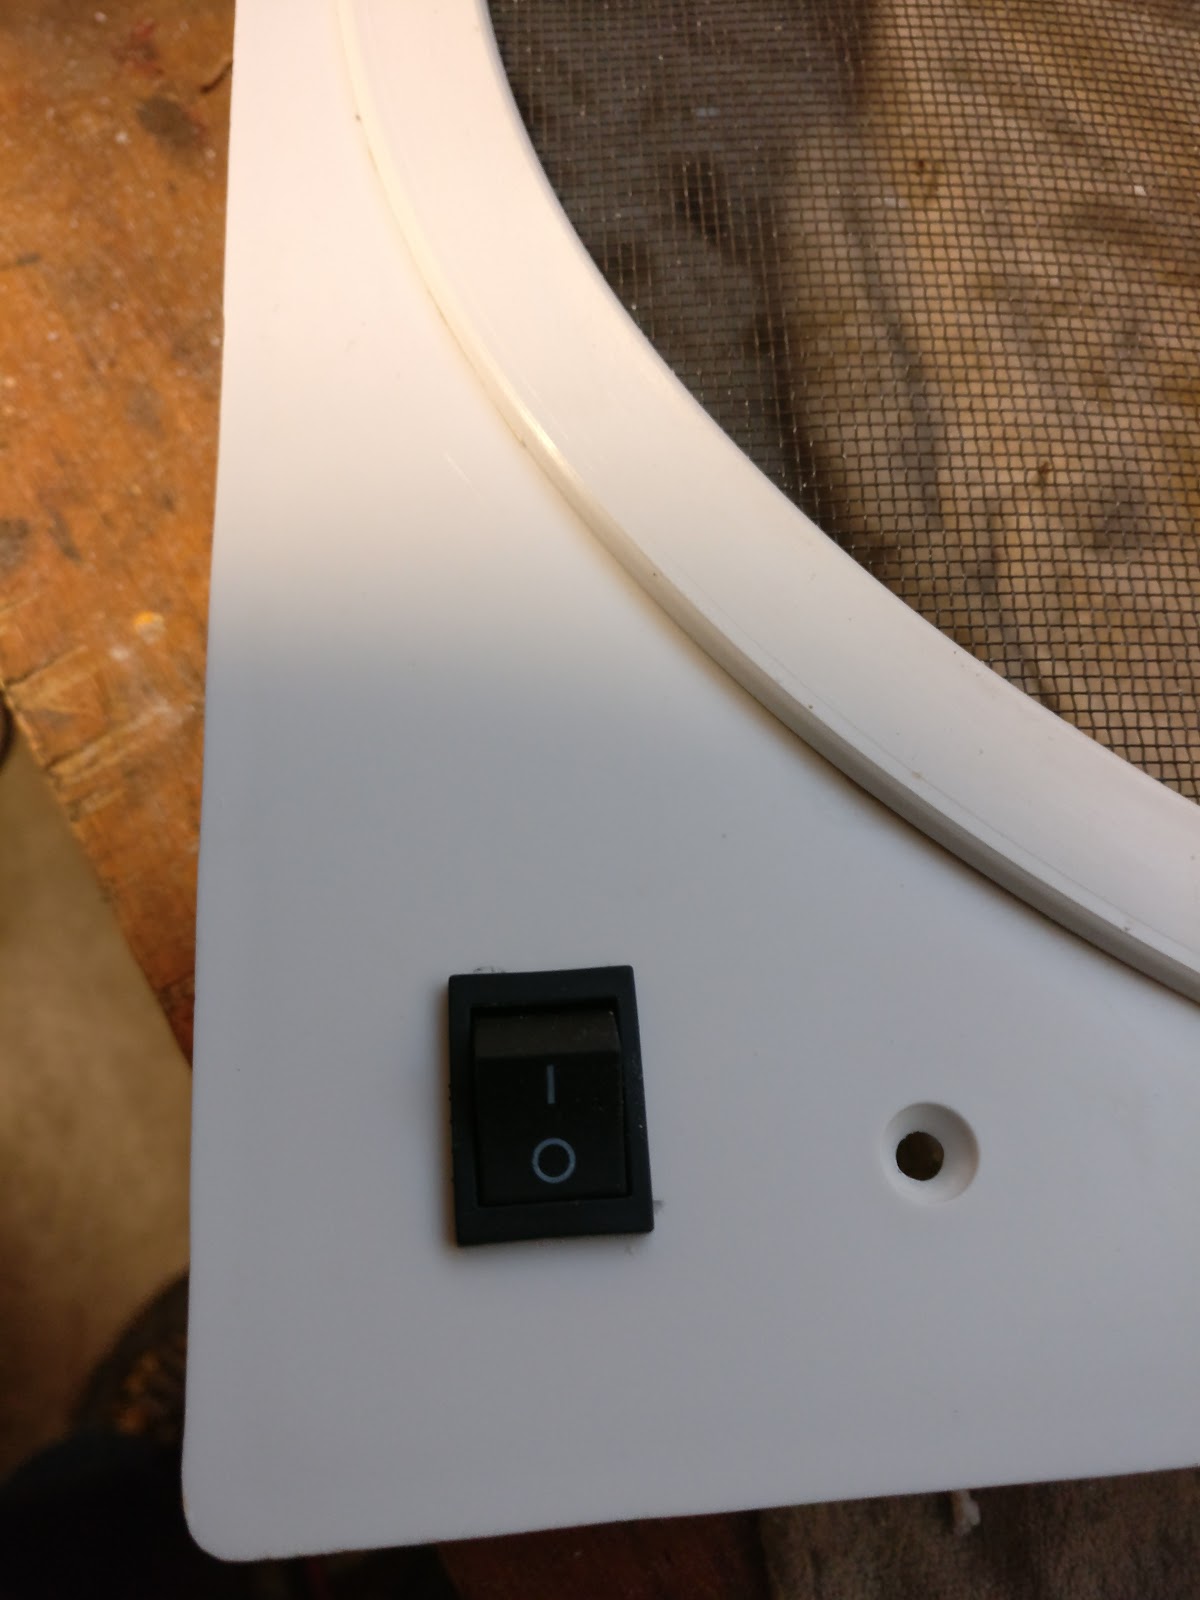
So I researched a little harder and found out that with a cheap DPDT ON/ON toggle switch I could add that capability for a few bucks, so that is what I did.
Remove the 4 screws holding the square trim ring to the ceiling paying close attention to where the wires go.
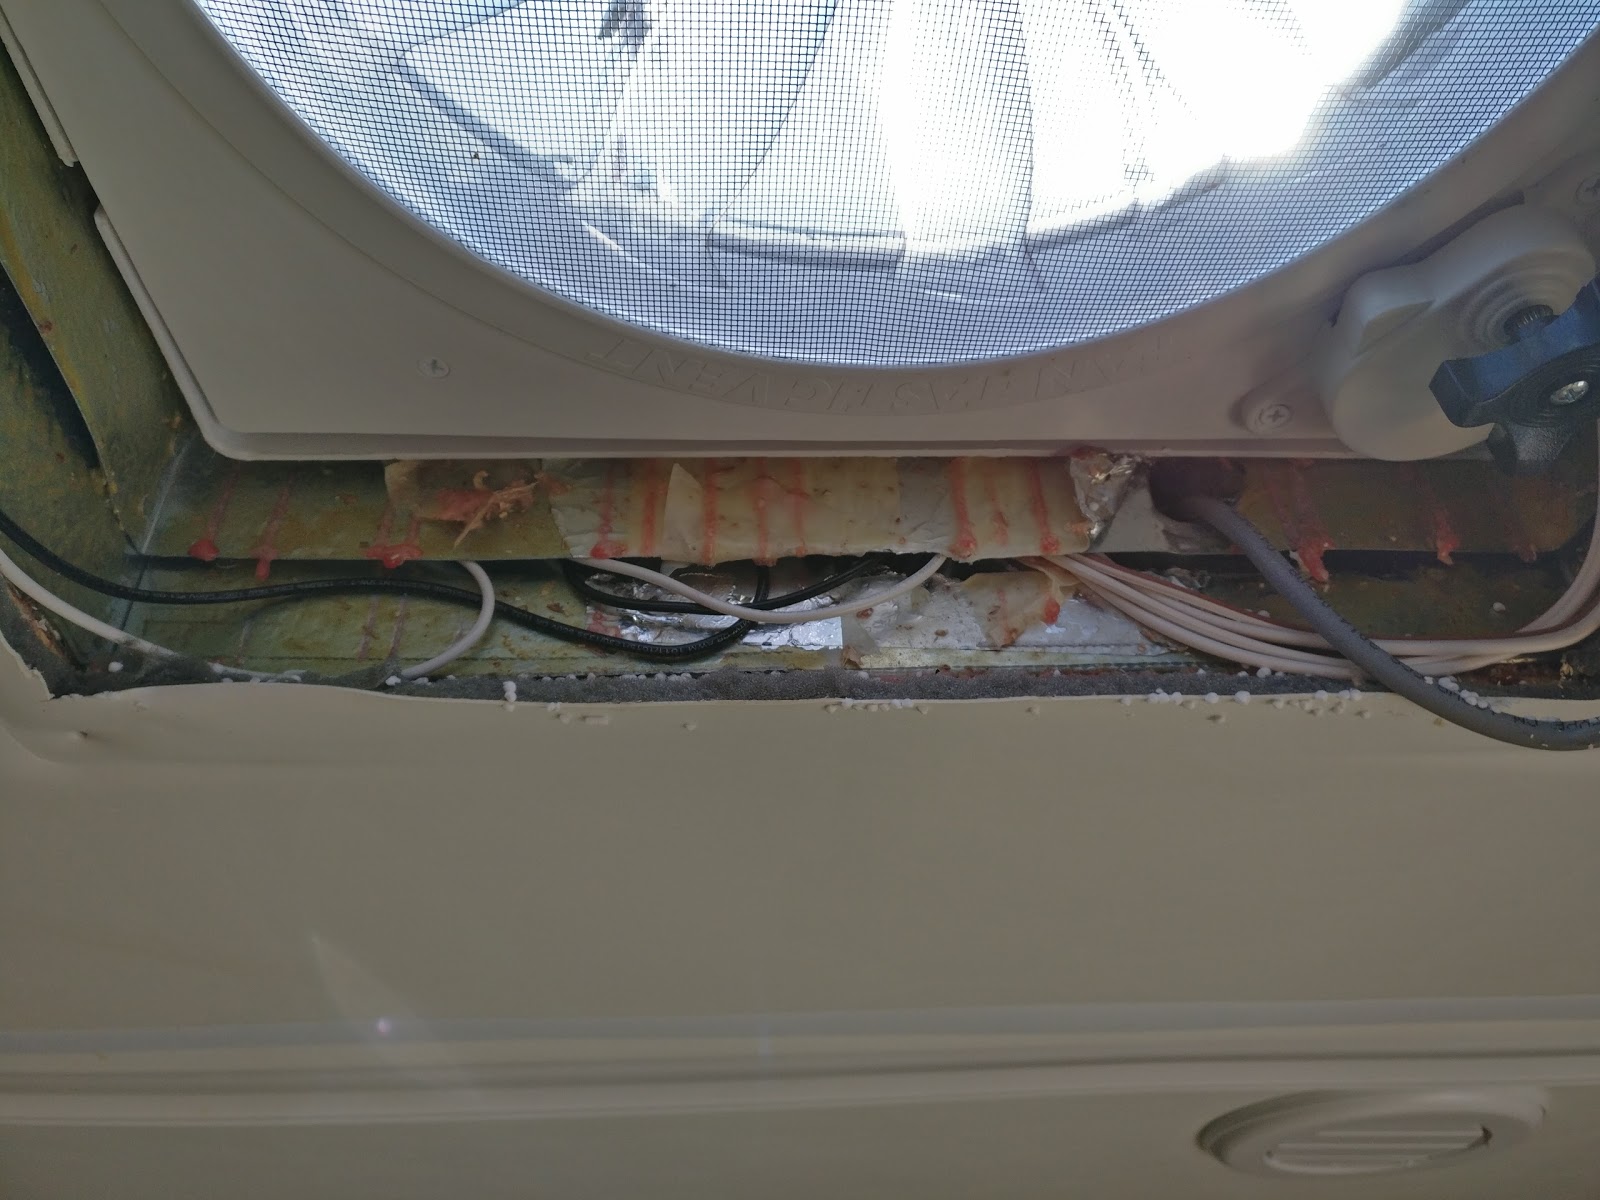
Now to install the switch. I recommend you disconnect the battery or at the very least remove the fuse from the fan body just to be sure you don't short something out along the way. After removing the fuse, remove the screws that hold the vent assembly to the ceiling and gently lower it and let it hang by the wires.
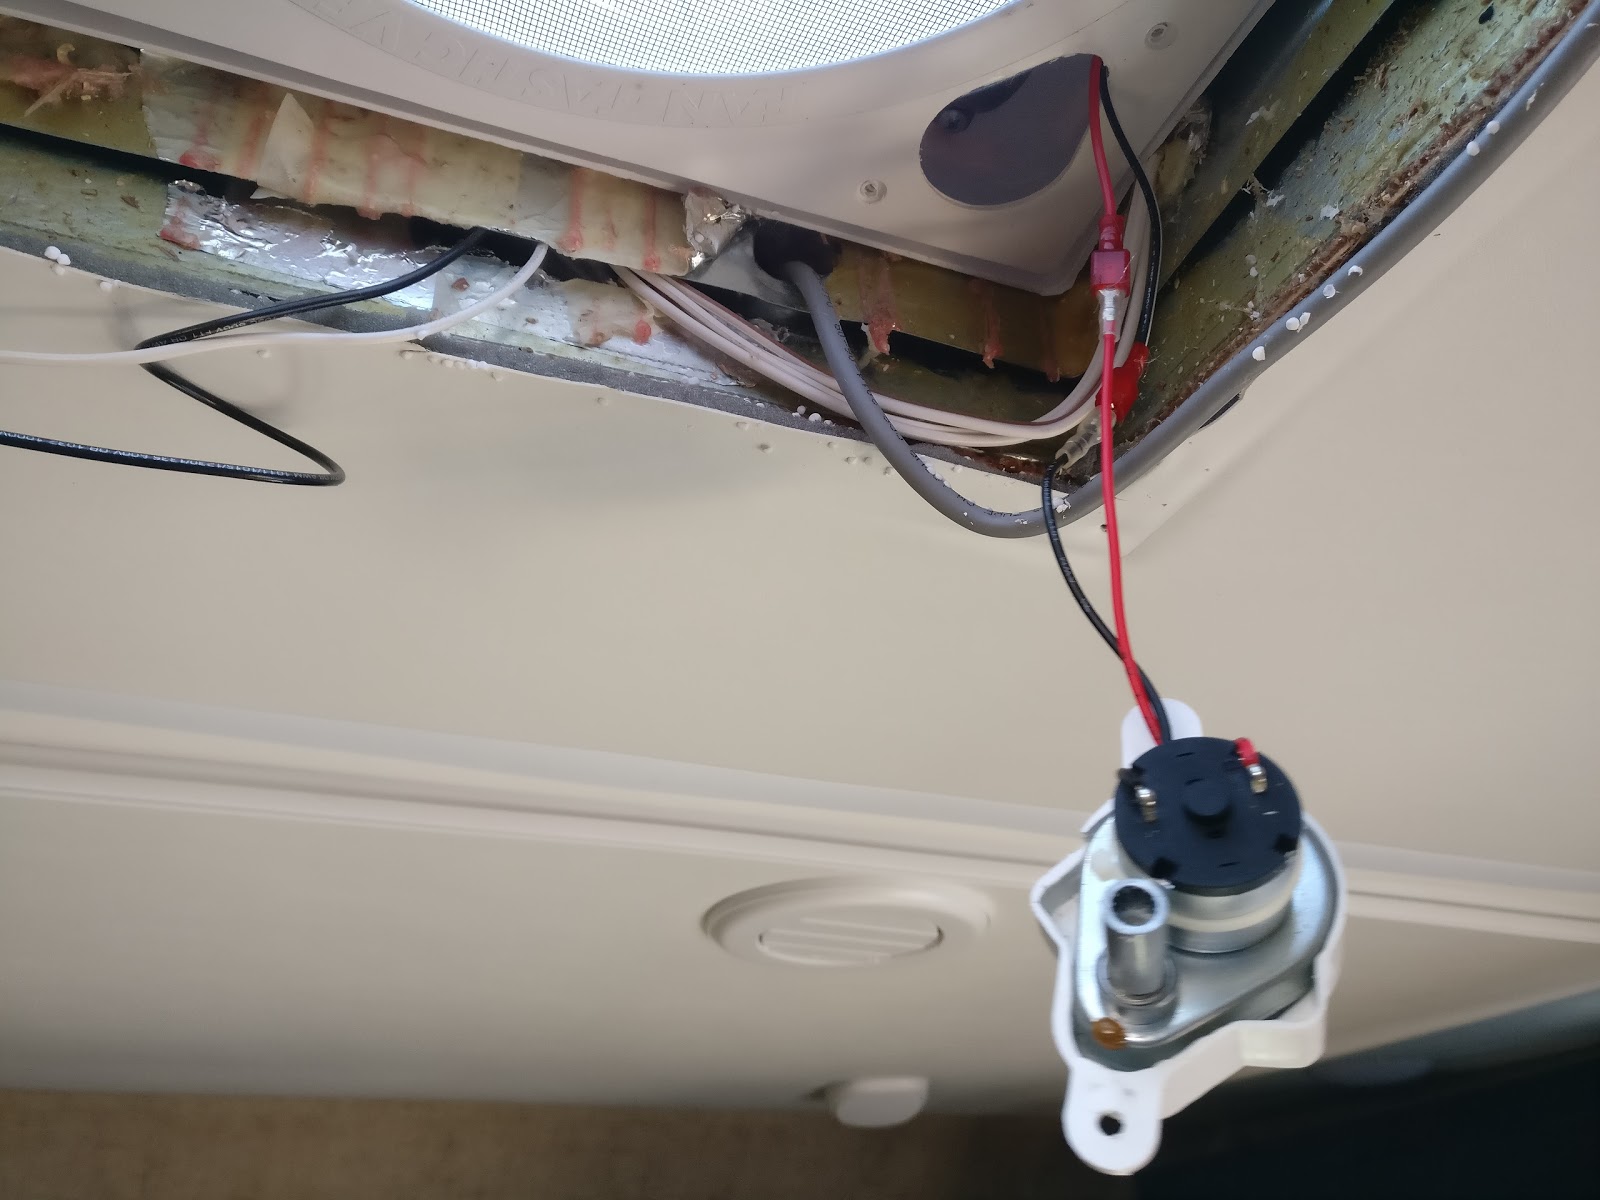
Once the vent body is hanging by the wiring, figure out which wires you need to disconnect from the fan to remove the body. On my units, it was a red and a white wire coming from the fan unit I cut them to the length of the red wire making sure I had room to connect to the switch I was installing in the left corner.
Once that was done I had to disconnect the black wire attached to the fuse and the white wire attached to the circuit board so I could remove the vent assembly.
Then I cut the hole for the toggle switch and attached the positive and negative wires to the switch as per the diagram.
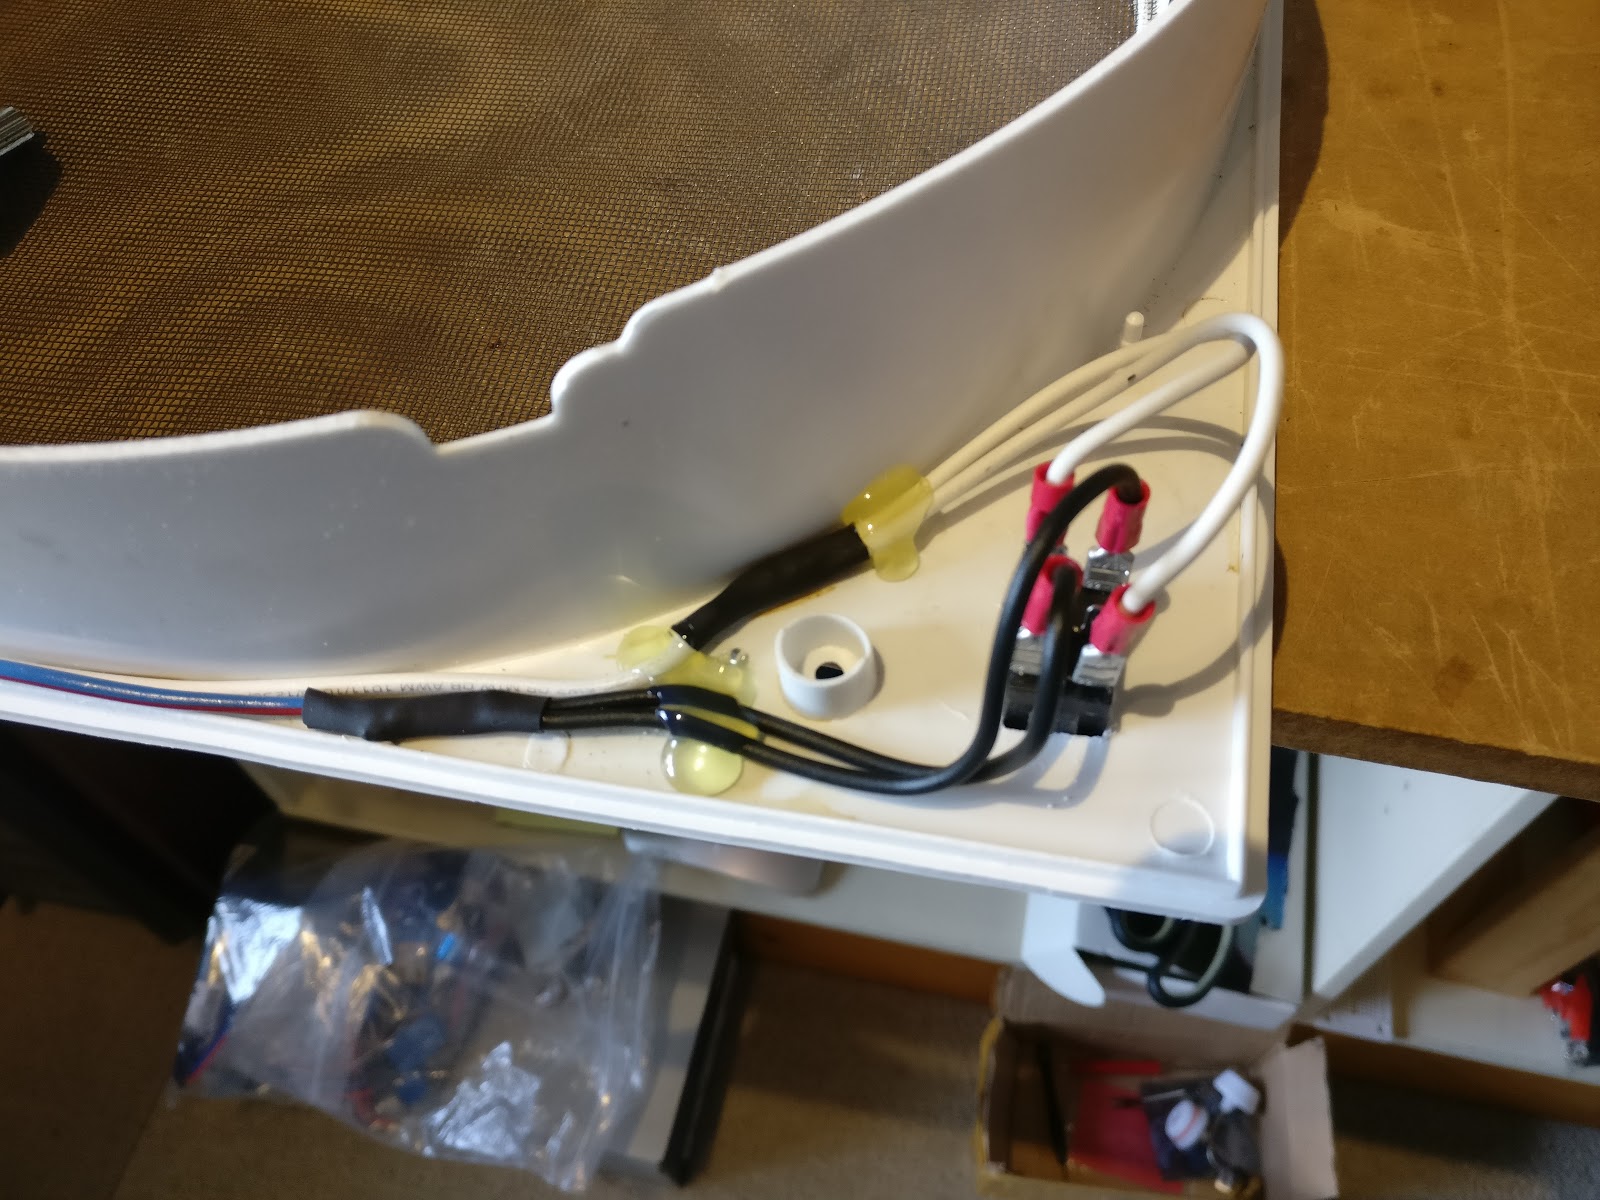
All that remains is to add connectors to the 2 wires coming from the fan, reconnect the black wire to the fuse and the white one to the control board. Install the connectors to the remaining middle terminals and bolt everything back together and enjoy your reversible fan.